All of my Japanese tools are purchased on Ebay, generally directly from Japan. If you know what you are seeing, there are some great deals to be had on good, serviceable tools, but most will require a bit of work first. Heck, even the NEW Japanese tools need work before they can be used. It is a different cultures, with different expectations and if you want to use some of the greatest tools available, you need to get used to that.
I am going to document the process of a typical Japanese carpenter's hand plane (kanna) restoration. This plane is a good example of what you will find on eBay, not too fancy, but a good starter kanna. Much of what I will do might affect the collector value, but I'm not worried about that. This is for a tool that you intend to actually USE!
The plane was purchased from my friend Junji (Ebay seller yusui) and he gets LOTS of good stuff, ships at cost (2kg/4.4 lbs is about $30 w/tracking and takes 10 days) and is very honest and helpful. Domo arigato Junji!
First, some forensics....
Long head to the blade, so it hasn't been used/sharpened much. The body of the plane looks good, a bit stained, but tight grain Japanese oak and a nice patina.
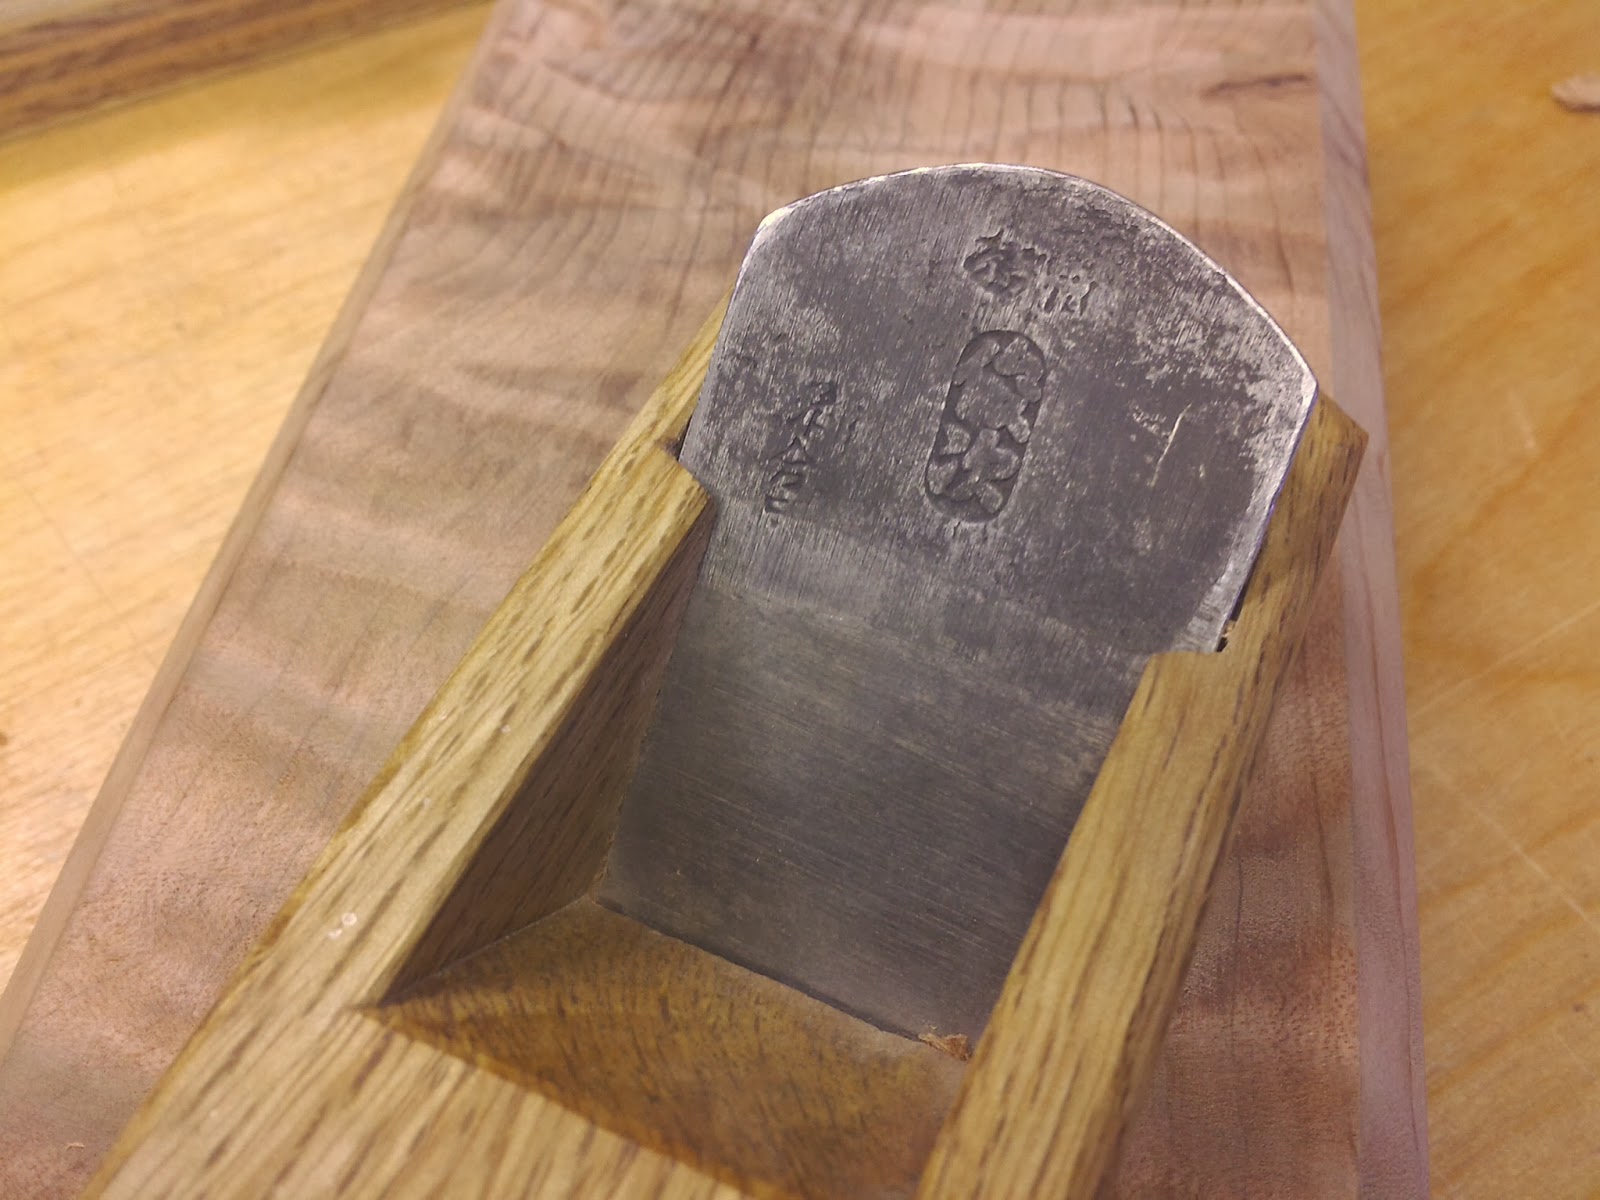
The kanji symbols *look* like they are hand chiseled, but are actually stamped. The back blade doesn't fit down into position, it's too tight. It has probably never been fitted properly.
Neither blade is too beaten up and they still have a good shape to them. Lots of kanna blades are squashed and folded from years of using a hammer to adjust the blade depth.
A better view of the stain....
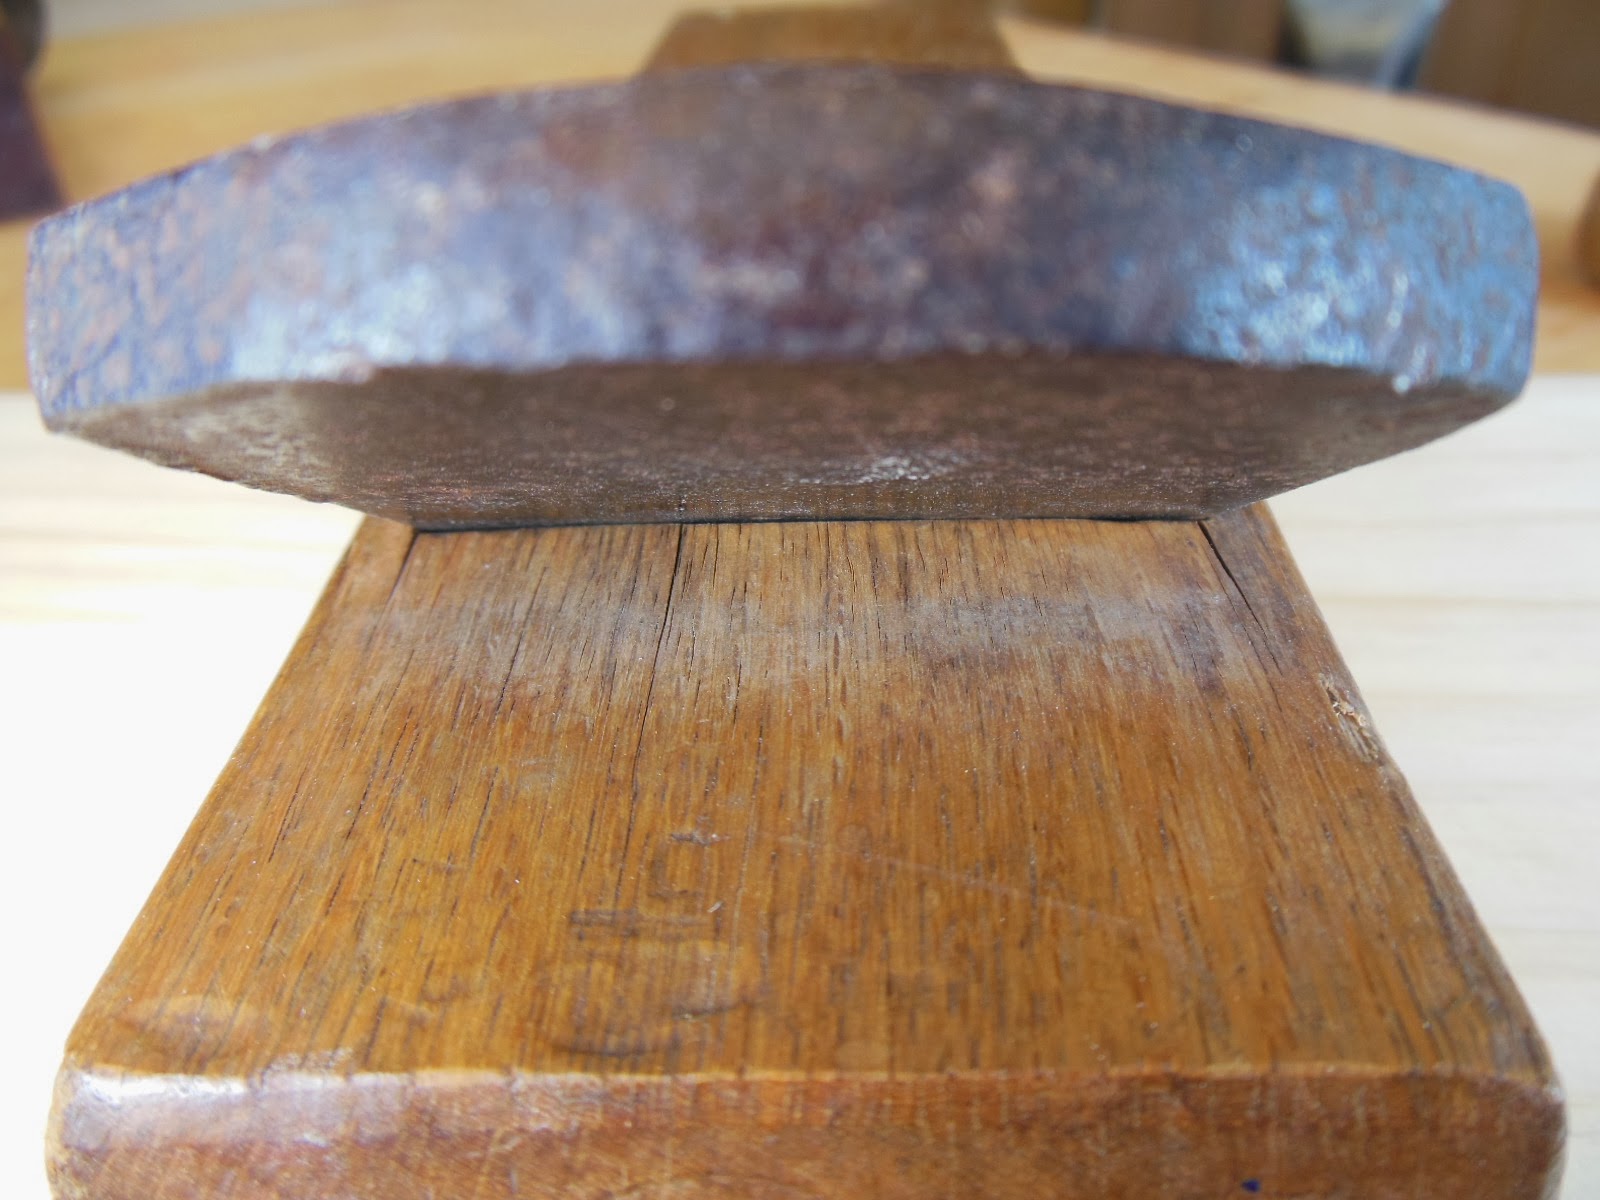
Notice the angle of the dai body at the far right of the photo above.
And to the left, below.
An interesting angle to the dai.... This was cut at the factory/manufacturer. You can also see a tiny wooden plug where the retaining pin goes into the side of the plane body, just to the right of the blade in the photo. This is polite. To see the pin itself is considered.... coarse, rude, sloppy, kind of?
Cracked dai, very common..... Huge mouth opening, too.
Some very faded printing is visible on the angled face. I think that it probably says "Hit here!" or something similar...
The crack isn't very deep, though. The dai was cut with a flat grain orientation (masame) with the growth rings running parallel to the upper and lower surfaces, side to side. Medulary rays run up and down. While this is the most common way to cut a wooden dai in Japan, it is also the most prone to splitting.
And HERE (!) is one reason why this kanna body has split. The blade is WAY to tight laterally. You can see cracks at either edge of the body where as the wood has shrunk around the metal blade, forcing the wooden body to crack.
The cracking of the wooden body, in this case, is indicative of a poorly seasoned dai. The wood still had a bit of moisture retained in the cells, and as this kanna sat on a shelf in a hardware store, it continued to shrink, crack, and split. While unsightly, this is NOT a big problem. Even well seasoned dai's will split. That's why sooooo many of the used kanna have a bolt running perpendicularly through the body.
As the body shank, it also warped in different directions, too.
Longitudinally......
... and transverse.
Again, this is normal stuff. Some Ebay sellers will say that something like "The body of the kanna is straight as an arrow with no.....". It COULD be..... Anything is possible, but it probably isn't, haha. Hyperbole runs rampant on the 'bay.
How are the blades?
This is the back, where the writing is. The back faces you when you are using the tool, as though the tool is an extension of yourself.
Rusty, of course.....
... but not mangled or disfigured by careless sharpening.
Look out for deeply pitted rust in the urasuki, the hollow lookarea just above the cutting edge. This is the future cutting edge, and deep pits make the blade pretty much unusable. A badly rusted ura is one of the few deal-breakers, for me. Just about everything about a kanna can be fixed but if the pits are too deep, you can run out of steel before the pits are gone. That leaves you with...... an oak 2x4 with a chunk of metal sticking out the top, haha. An unsharpened, fresh from the blacksmith blade is the easiest to work. Ahhh, a fresh palette (almost).
Rust on the front of the blade is irrelevant. This is the front.
It is very hard to judge the blade quality, at this point. The bevels are rusty on both blades, preventing me from seeing if ren-tetsu wrought iron was used for the backing metal. The back blade looks like it is stamped steel, not forged and laminated like the higher quality chip breakers.
Still, not too ugly. These will clean up beautifully. I like the ark of the chip breaker. Nice shape....
So far, I am rather certain that this is DIY level tool, meant for occasional use by the homeowner and not intended for the pros. The blades look good. Not fancy, but good. The body of the plane is actually repairable and is probably done moving, so future warpage should be minimal. It hasn't been abused, just kind of neglected. It is PERFECT for this project.
Now comes the fun part! This kanna probably never worked very well for the original owner, and it is completely unusable now....... what can we turn this into?
Continue to part 2.....


