An exploration of, well, whatever I happen to be interested in. Probably more Japanese tools and sharpening stones than any sane person would want to see. The fools progress?
The small “Aristotle” remelting furnace that I slapped together was suffering from one major deficiency….lack of air. The 50 cfm bathroom vent fan I used just doesn't have enough “oomph” to get this thing up to iron melting temps, though we gave a mighty effort. Secondly, because I didn't give the furnace time to dry out properly, the poor thing developed some pretty extensive cracks as the clay shrank.
Step 1) Suck it up and pull out the hated air mattress inflator, who's devilish shriek haunts me still. I swear, the damn thing makes my tooth fillings vibrate, but it does move the air.
Step 2) In hopes of getting one more use out of this little disposable design, I wrap the stack with baling wire, then apply more clay mix to the outer surface. A little extra mass will make the furnace both more sturdy and add a bit of additional thermal mass.
Let's fire it up!
You can't see what's happening to the metal inside the furnace of course, but the character of the flame can tell you something.
Here you see that the stack is full of burning charcoal. The flame is thin, red, and of low intensity; it's time to add the metal to be melted.
The idea here is to put the metal on top of the pile of burning charcoal, then keep adding more charcoal to the top as the pile burns down. The metal will slowly descend, hopefully to melt into a viscous pile at the bottom of the stack. The entire process should only take 15-20 minutes. This time, I am remelting old steel and cast iron blooms that I've made in another furnace, just playing and experimenting right now.
What I want to show here is the flame character.
As the iron and steel reaches melting temperature, the color of the flame shows more of an orange cast and there is a substantial increase in flame intensity. The air supply is unchanged from the first picture, but the flame is much “thicker” now.
As the melt progresses, the flame gets more yellow in hue.
Most of my melts have produced diffuse and airy blooms, probably due to my lack of a good, strong air supply. This time, I am running the burn for a longer period, just to see what I get at the end. Occasionally, the sound of the blower will change, indicating that tuyere is becoming clogged with slag (waste), molten metal or whatever. This design allows outside access to the tuyere, REALLY handy when you need to clear blockage. Just rod it out and keep going…..
In any event, after about 30 minutes, the tuyere keeps getting clogged and, because this furnace wasn't built to last, it has developed a fatal fracture. The flame has shifted firmly into the yellow spectrum.
Post mortem analysis showed that intense heat of the flame had eroded the area around the tuyere, so much so that the airway was blocked and the bloom stuck firmly in place. The intense, yellow flame shows that the air is blasting directly onto the metal itself and beginning to burn off carbon. If you are trying to lower the carbon content of cast iron, that's a good thing, but here…..not so much.
And what is the result?
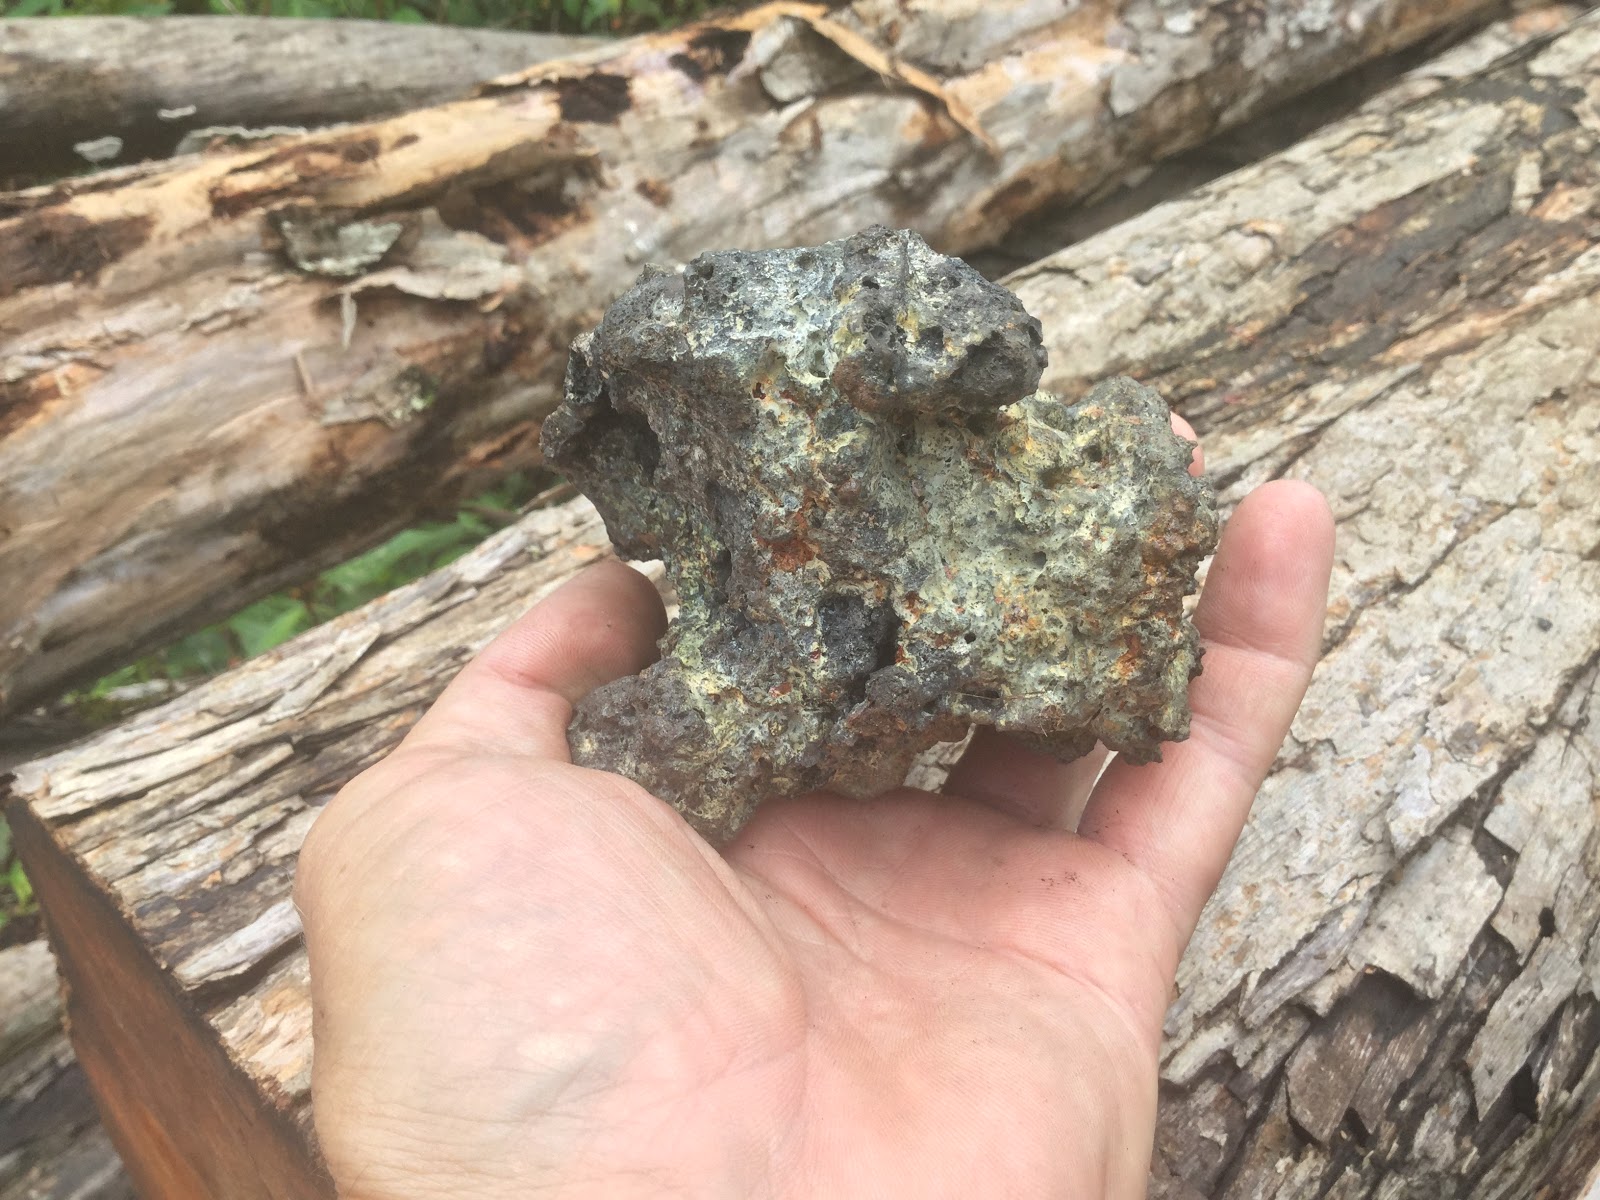
An interesting bloom of mostly gray cast iron with a few tiny spots of steel, and lots of oxidized steel and slag, all mixed together into a big mess.
I quench the bloom in water, then spark test before smashing it into pieces.
Most of the bloom crumbles into garbage, but one small area from the side furthest from the air blast fractures in a way that shows the crystalline structure of steel. Well….at least a tiny bit of steel.
I'm still learning here, but what I think I see is some gray cast iron with a few larger white cast iron crystals. The lightest color, fine grain material sparks like medium carbon steel, but most of this mess appears to be slag, the melted remains of the furnace wall itself. The old furnace has been crushed, sifted, and put into a bucket to soak for a while, waiting to be reused. Clay is expensive here!
Finding good, used building supplies here on the Big Island is a real trick. Yes, there is a Craigslist here, but after repeatedly seeing ads offering water soaked offcuts and the type of items that you'd normally be pulling out of the dumpster, all at next-to-new prices….you get burned out after a while. I guess it's a natural result of needing to have everylastthing shipped in at great expense that makes people think that this stuff is made out of gold, but every now and then you find some deals.
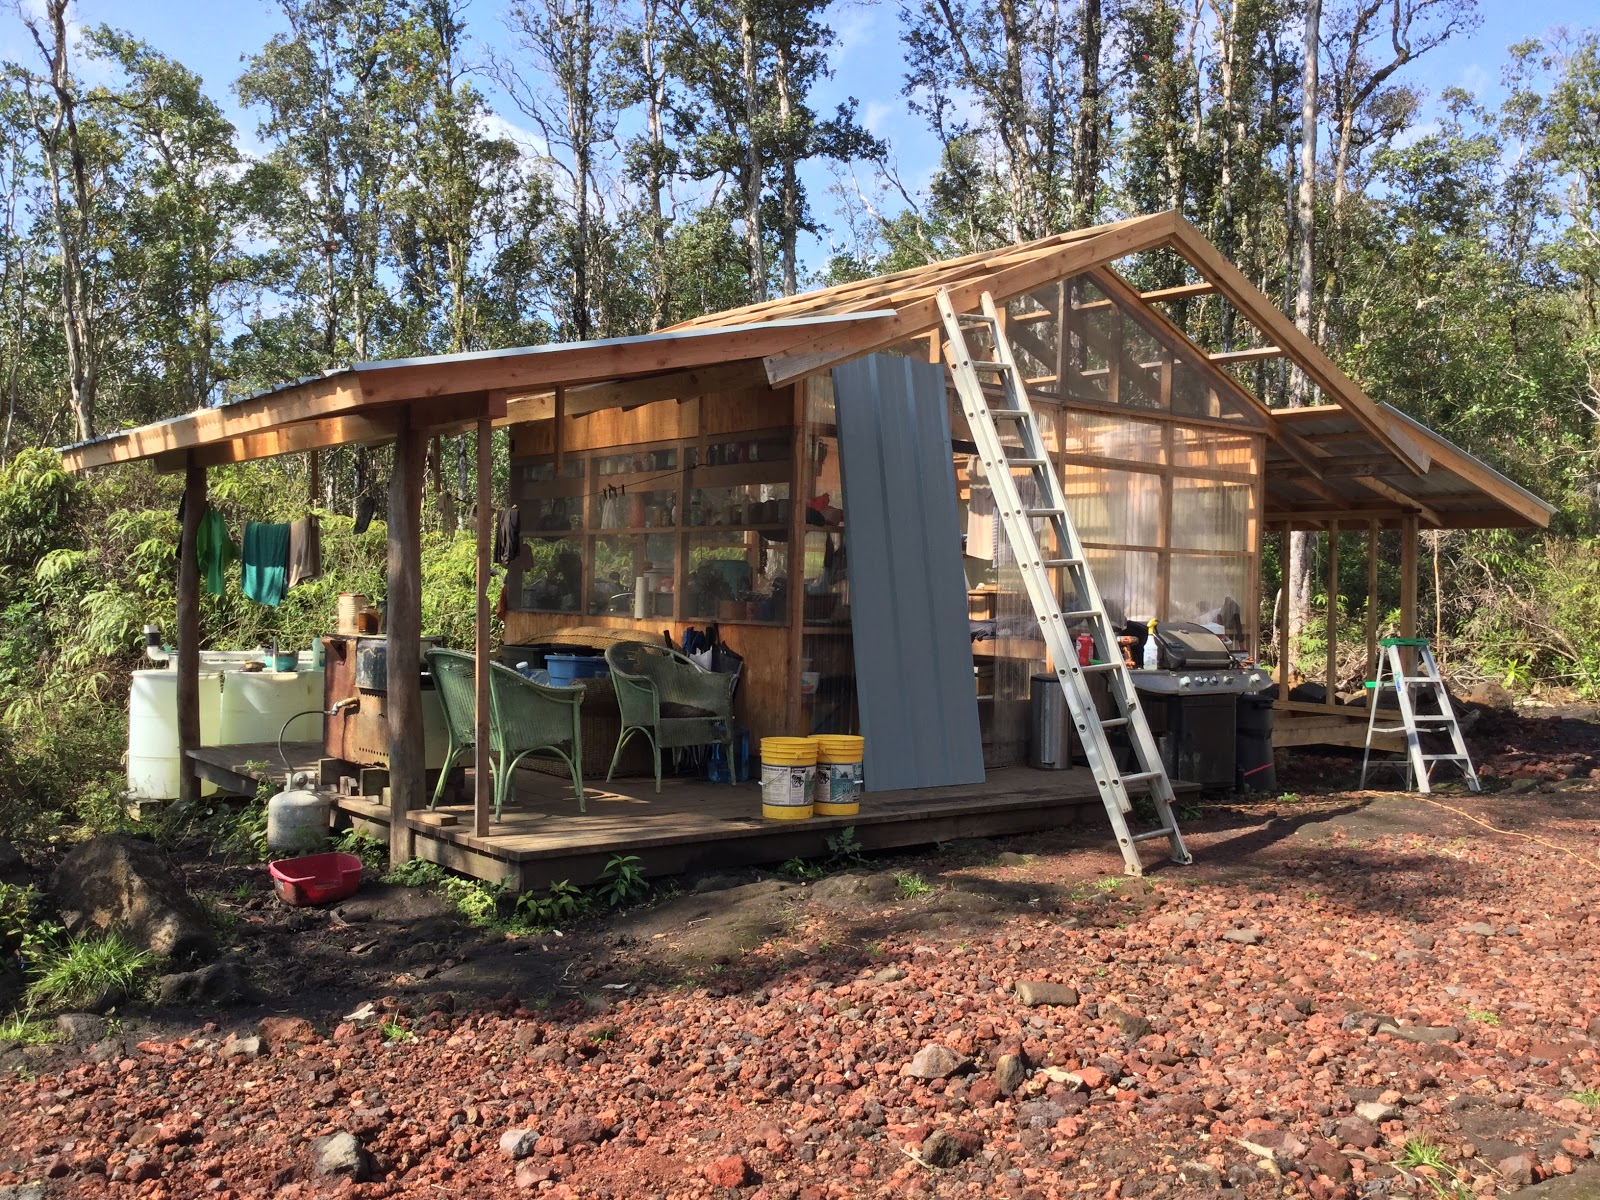
One of the metal roofing companies not far down the road has occasional scratch and dent items, and if your stars are all in alignment, they might actually have something at the exact time you have need. Don't count on it. Steel roof at $2/linear foot doesn't last long, so when you see it, grab it. All of it. I did, about six months back, in anticipation of getting a real roof over our heads, and that time is now. One slight problem; the rain just won't give me a break.
A Sucker Hole, for those of you who aren't familiar with the term, is a break in the cloud cover that makes you think that it could turn into a decent day…...then as soon as you get started on something good, the clouds return, usually with a vengeance. Hahahahahaha…..SUCKER!
The Ace Hardware store here sells two different colors of large tarp; grey/brown and white. Both tarps are made by the same company, but the white tarps have proven VASTLY superior in both finish and durability. Despite the grey/brown tarp having a moderately reflective grey surface to minimize heat gain, the white colored tarps stay markedly cooler, like 30% cooler, so says my IR temperature gun. Go figure….in any event, relying on ANY tarp to keep you and yours dry is something all done on faith. We've been lucky, to say the least, but crossing your fingers for over a year in a climate as rainy as this one will test anyone's faith.
Now if only it would stay sunny for a few days…..
An actual bedroom, lucky kid.
I've been sitting on that decent sized pile of metal roof for months, and now that I've finally framed in Ellie's new addition, it's time to put it to use. The rain stopped, it's time to go for it!
And, the gods being fickle (at best!).....the clouds came back. In force.
Ahhhhh Hubris, you've gotten me again.
Actually, I got everything buttoned up, just in the nick of time, but only minutes away from a serious deluge. And only a couple of leaks, haha. It beats the tarp though. Next thing to do is gutters. At least now that it's raining again, I can get back to work on my fuigo.
Thinking rationally for a bit, I realize that it doesn't REALLY rain every day here but…...it feels like it's been forever since we last had a solid day of sunshine. Rainy days are particularly bothersome for us in our open-air lifestyle ie: no windows that close, no doors and certainly no heating or dehumidifiers. Everything here is out in the open, and while that is nice when the weather is beautiful and sunny, wet days kinda suck. Three weeks of rain REALLY sucks!
There is a goodly long list of things that need doing ( replacing our sketchy tarp roof with real roofing, building a new bedroom addition for our soon-to-be teenage daughter, etc,etc,etc…..) but some tasks are better off being confined to drier days. Wooden body kanna tend to swell a bit in high humidity and can get out of whack. Lumber twists and warps, not a big problem for framing, but definitely a bad day for finer furniture projects. I don't know about you, but I hate working out in the rain anyways, so framing is out. Finish applications are verboten in this weather but given that I haven't built anything finer than a plywood box in God knows how long, that's pretty much a moot point. I can dig stuff up using the backhoe, as long as it's not raining too hard. Sharpening tools is a good rainy day project. Working at the forge is a great thing to do on cold and dreary days. Now, if only I had set up the forge sooner……
I bought the materials for putting together a forge blower using a bathroom ventilation fan, oh, two years ago I think. Ventilation fans are high volume, low pressure, pretty much the opposite of what you really want in a forge blower, but since I'm doing all my forge work using charcoal, the bathroom fan is adequate. Best of all, it's really quiet. The thing that I DON'T like about using an electric fan is that, unless you install a momentary-on foot switch, you are burning up fuel constantly. When you are producing all your own charcoal, that's a real concern. A human powered forge bellows only makes air when you need it.
When working tool steel at the forge, temperature control is crucial so you need to regulate the air supply to make the fire hotter (or less so). You can install an inline gate valve to restrict the air volume, but the simple shaded pole induction motors used in small bathroom fans don't really like the increase in back pressure. You can wire in a rheostat, but they don't really like that either. Either of these means will work, so if that's all you got, work with it, but it's not exactly ideal. Bathroom fans use electricity of course, and that's something that is in short supply in our off grid lifestyle, so although that's another factor for me, it's probably not so much of a concern for you, hahaha.
So…..it's raining again, and everyone needs a rainy day project, right?
One of things holding me back from building said forge is my oh so strong desire for a proper Japanese blacksmith bellows ( 鞴 [ふいご (fuigo)). You know…..that funny wooden box that you see sitting to the left of the forge in nearly any Japanese blacksmithing video.
I've been wanting to build a true Japanese fuigo for a long time, pretty much as long as I've been interested in forging tools. One slight hang up though, is that there are very few resources for the details of their construction. Search the internet in any language you choose and you'll find a few examples of fuigo that others have built but they have been, shall we say...simplistic in design? A traditional Japanese fuigo box bellows IS a simple thing, being essentially a box (duh!) and piston, with a few flapper valves that keep the air moving in the direction you want to it to go. There are a few hints of construction to be found that indicate that the Japanese fuigo has some details that aren't obvious to the casual observer.
Here is a couple of links to a repair that was performed for the Miki city ancient rite preservation society.
The fuigo being repaired had been used by one of the most highly regarded Japanese toolsmiths, Chiyozuru Sadahide I, a name that is well known to any Japanese tool aficionado. It's hard to find a more legitimate example of fuigo construction than this, and those blog posts highlight a few interesting details.
The long sides of the fuigo are bowed inward in both height and width (although just how much isn't specified) to better resist the force of air pressure.
The flapper valves are tapered, thin at top and thicker at the bottom, and are covered with rice paper to provide an improved seal. Dave Friesen of Island blacksmith did an excellent write up of this detail here……making-valves-for-fuigo-box-bellows
The long side panels of the fuigo are only about 9mm thick and are made up of two planks of cedar glued and reinforced using iron pins (like brads or dowels, but I can't find any pics of that detail).
Some interesting clues, to be sure. But that's not all…..
This YouTube video highlights a reproduction fuigo, skillfully built by California craftsman John Burt.
This reproduction fuigo was built for the upcoming United States visit of another well known Japanese blacksmith, sawsmith Miyano Dai Endo, better known on this side of the ocean as Yataiki (You can read more about Yataiki at the Daiku dojo website http://www.daikudojo.org/Archive/gallery_yataiki/)
The YouTube video mentions the bowed sides of the traditional fuigo, but also says that the bellows is tapered in length, a full 5mm from one end to the other. That's interesting……I wonder what else there is to learn here.
A few years back, Gabe Dwiggins of Granite Mountain Woodcraft wrote up the best fuigo build ever.
To top that off, the next year he drove all the way across the country to visit with Japanese saw metate Mark Grable and while there, took detailed and meticulous measures of a REAL Japanese box bellows.
There are clues here, to be sure. More than clues actually, because Gabe was able to get accurate measurements.
Ironically, this fuigo is the exact same bellows that John Burt copied in that YouTube video... cool! Small world, isn't it?
Gabe, being the awesome guy that he is, took it upon himself to draw up detailed plans, then shared this hard earned bit of intellectual gold with others. It's taken me far too long to get going on this project, but it's finally time to build this sucker!
I'm not going to give a step by step build log, because I suspect that Gabe has one of his own in the works (and if not…...hint hint!) , plus he will do a much better job of detailing this important tool build, far better than I ever could. I am just digging the opportunity to build something I've wanted for quite some time and didn't even need to do the difficult design work. I can't think of the last time I got to built something to a plan, haha.
Easy peasy. I owe you big time, Gabe!
----------
Starting these types of projects, I start to remember certain things. Things like……
I dislike gluing up large stock and….
....I hate yellow glue ( but I'm also leary about using hide glue in this warm and humid Hawaiian enviroment).
The prospect of gluing up the various sizes required for this project was probably the single greatest obstacle to me not building this thing sooner.
I love working with different species of wood, especially when they agree with my kanna.
Most of this fuigo will be constructed of your basic western red Cedar, but when I didn't find any 20mm thick stock hidden in my lumber stash/treasure hoard (and felt too lazy to head over to the lumber yard), I decided to use this mystery wood. Harder than cedar, I suspect it's some species of mahogany. I've got a fair bit Honduran mahogany buried in my lumber pile, but this isn't it. Spanish cedar? Toon? Nope, not Toon (Australian cedar). Whatever it is, it's got a nice reddish hue and it works nicely with my edged tools, not something that I can say about the many varieties of eucalyptus we have here in Hawaii.
Doesn't matter what kind of wood it is, pig loves to dig in and take a nap.
The list of stock thicknesses for this project are various : 9mm, 18mm, 20mm and 25mm. Convert these measures into the old-school Japanese shakkanhō (尺貫法, "shaku–kan system") measurement units of bu (3.03mm=1bu), and you've got some readily available stock that conveniently matches your chisels…..at least if you are in Japan, haha. I'm making due with what's more commonly found in his part of the globe.
There is one final hurdle for me, concerning this build. If Gabe went through all the effort of making detailed measurements of an honest-to-god Japanese fuigo, it would only be fitting that I should make my reproduction as authentic as possible. I've already fudged some stock thicknesses to what I had on hand, but not by any huge amount, ditto the wood species. My hangup is the nails used to fasten the sides of the fuigo.
These forged nails have a head that is first flattened, then rolled back on itself. Way cool, and there is even a YouTube video showing them being forged.