Thursday, September 10, 2015

Japanese carpentry books....."The Genius of Japanese Carpentry"


More books to share.....and a note.


These aren't meant to be reviews per se, but a brief glimpse of some content and photos. All books are good books, but it might be nice to have known which of these would've been most helpful to me as I am learning, particularly when dealing with a subject matter as obscure as Japanese carpentry. Support your library system and borrow first! The library system here in Hawaii isn't all that large, so I have only been able to borrow a few pertinent titles, but that has saved me a few buck right there. The other books I bought used through Amazon.com for about $60 (shipping included), about the cost of two nights of take-out dinners.....not that we do that sort of thing, haha. I know where the true value lies. The only knowledge wasted, is that which isn't shared.


So.


"The Genius of Japanese Carpentry ", by Azby Brown.


Courtesy of the Hawaiian state library system, this large format 2013 hardcover is a second edition color revision of Azby Brown's original 1995 work. The new edition has new material and revised text, as well as more pictures, color at that. I flipped through the original ages ago so I can't say for sure, but I suspect that this new printing would be an improvement. It's a very pretty book, very nice to look at. A coffee-table-y kind of book.


Interspersed throughout the book are little woodworking koans, quotes from the masters mouth, that are very good reading.
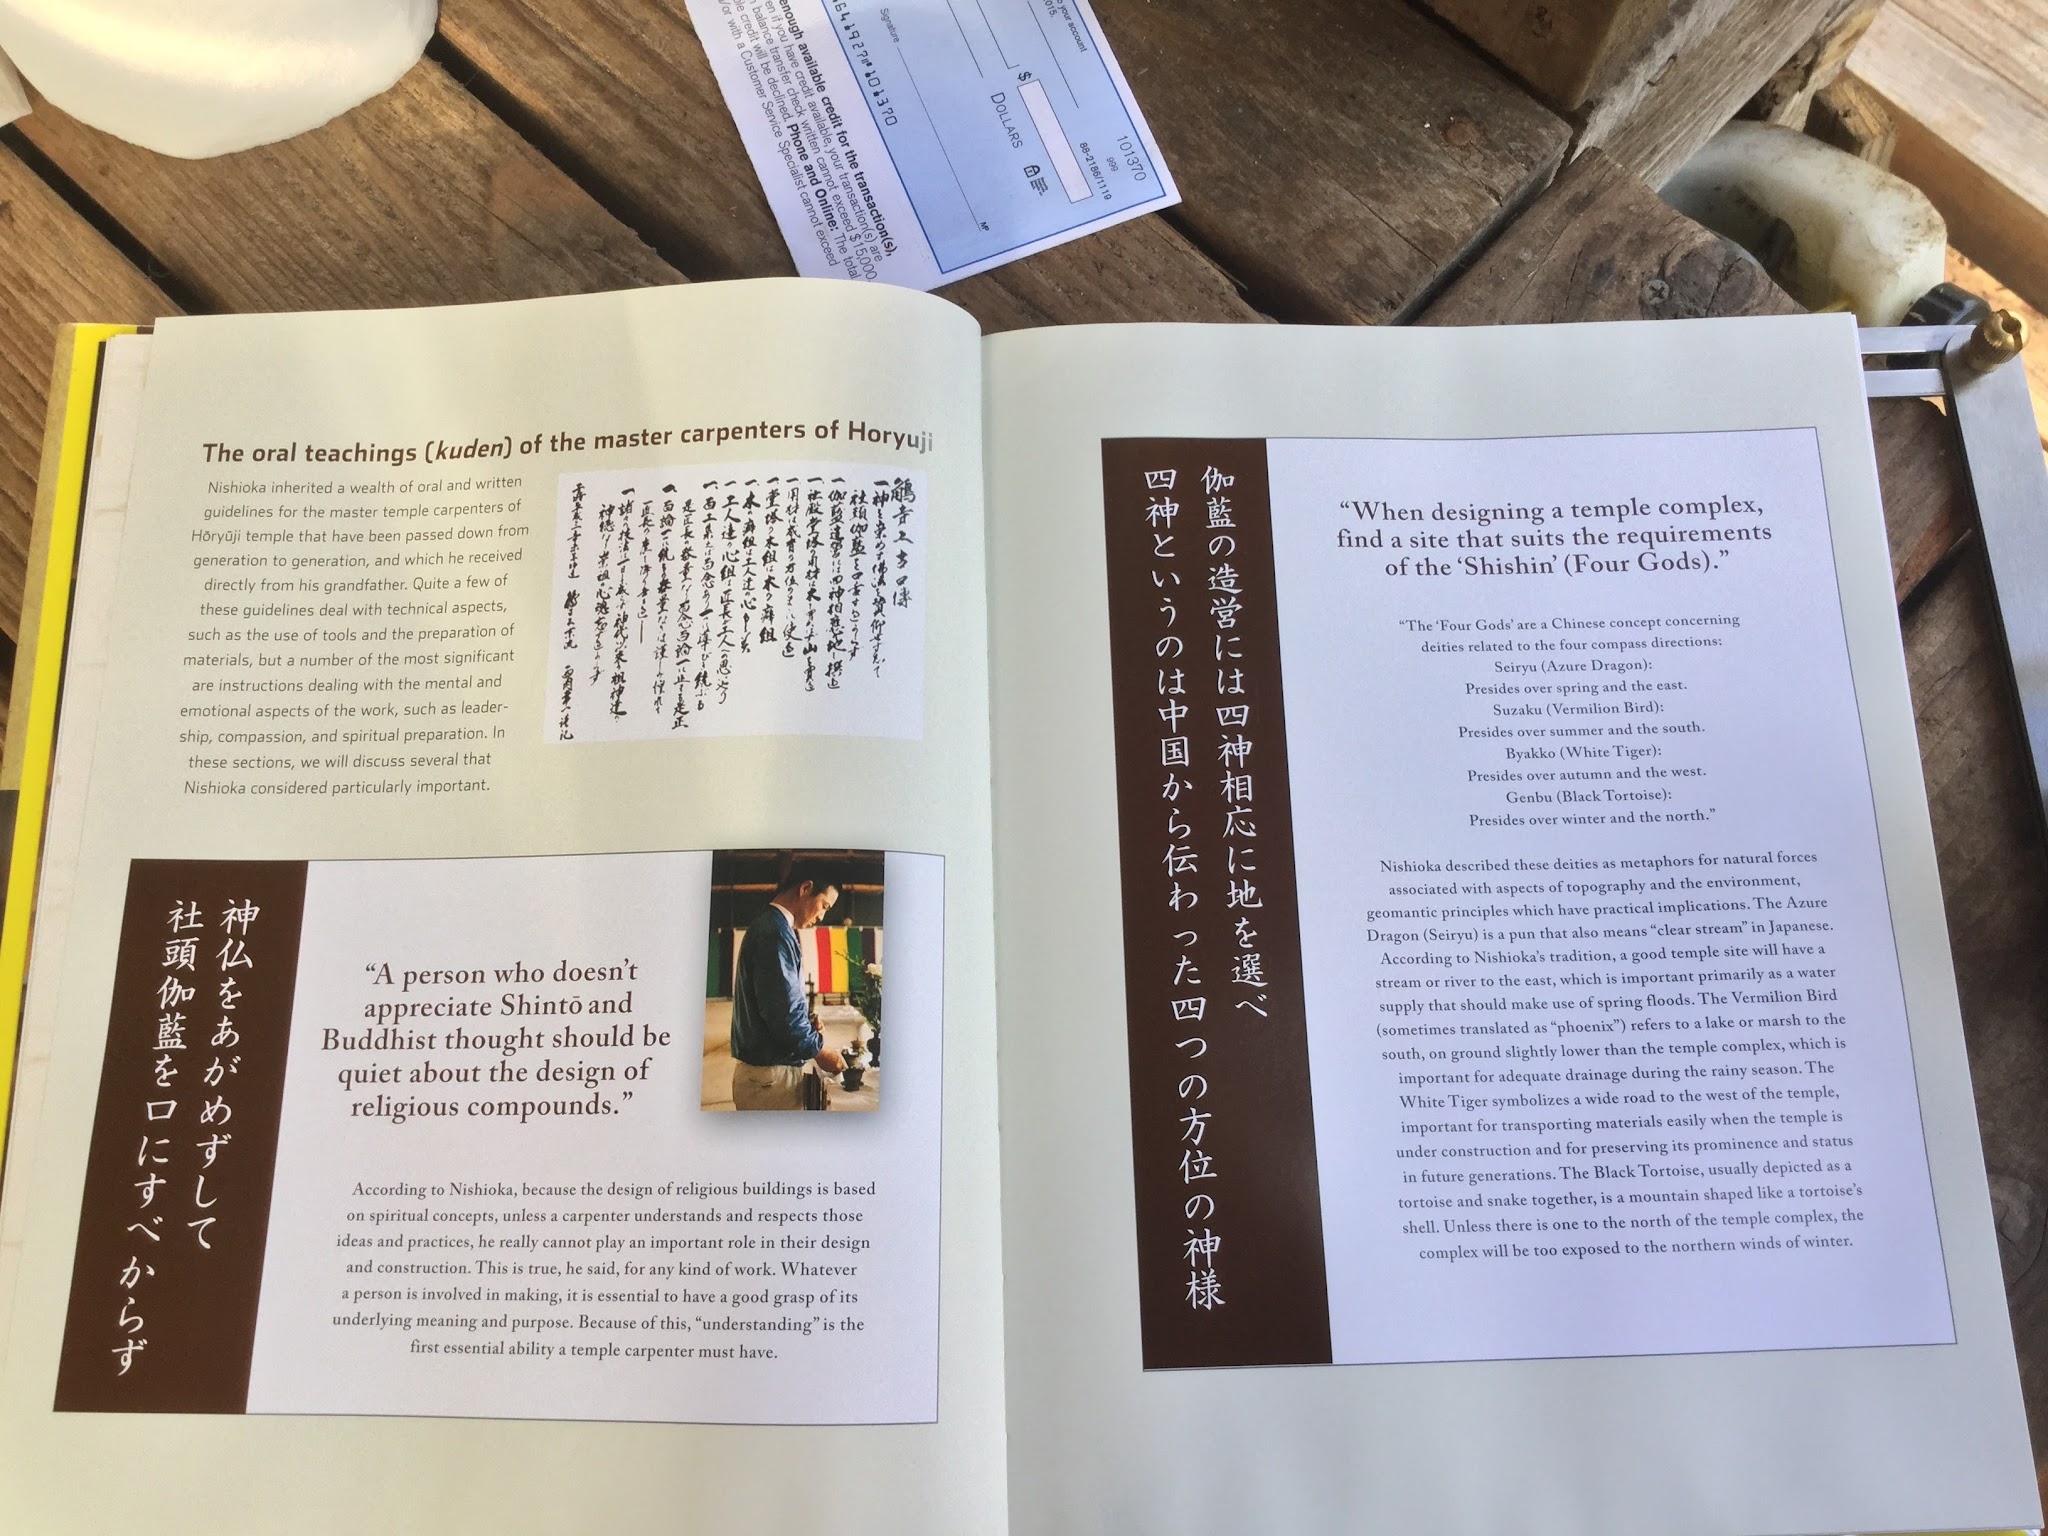


Really, this book is about a man who has dedicated his life to his craft, master carpenter Tsunekazu Nishimura.


Azby Brown was fortunate enough to spend much time over the course of numerous years observing and learning from this dedicated craftsman. This is a man who sees himself as an extension of a continual line of stewards, working to preserve these temples that are over a 1000 years old.


Yakushiji temple, was dedicated in 697 and finished in 698 (!!!), and then had to be dismantled and moved to a new location 20 years later. Just another benefit of joined timber construction, yes? Over the course of time, these structures get burned down during periods of civil unrest, or just fall out of favor. Buddhism loses it's once popular status and devotional money just isn't there anymore so buildings quickly degrade. I've read that small local temples were often completely disassembled and rebuilt every 20 years, but that would've been a local concern and responsibility.


Yakushiji is the main temple for an entire sect of Buddhism, so it was of a national importance. Burned down, rebuilt, redesigned, then ignored, it was evidently ready for a face-lift. The principles couldn't aquire government funding or they just wanted to keep things pure, but in any event, the rebuild has been financed through prayer donations. Very cool. Nishioka was part of the rebuilding of the East pagoda, then took detailed measurements to use in building an identical West pagoda, which burned to the ground 1000 years ago. He helped build the Golden Hall in the 70's (burned 500 years ago), and designed an entirely new lecture hall, a structure that wasn't completed until after his death. Talk about dedication.


The temple grounds and the buildings within are built to a grid design. The columns are proportional.


So, lots of temple design, but where's the woodworking part of the book?


Some rules of "proper" construction. Let's start with wood selection.


Trees grow differently, based on climactic and local conditions. North facing slopes promote slower/stronger growth. Trees that grow in warm lush valleys make for attractive wood, but tend to be weak structurally.


We get this one page. It's a short section, piques your interest, but that's all you get.


"Fabrication" shows some great shots of guys working.


Power tools are used, but are tucked away for pictures, haha. You can see the piles of shavings that you get from a power planer, everywhere. Hand tools are used for the finished surfaces.


Some really nice working stock. Huge logs! And the guy on the right.....that's how I feel when I'm doing layout. I think of this guy, I want to be like him.


Some REALLY scary power tool use.


And a guy showing just how fun it is to use a kanna. Really! When you get it figured out, it's a blast!


More carpentry knowledge.


Wood compresses as it ages, so you should allow for settling in the design phase.


So much for that chapter. That was it. Not many secrets in this book.


There is a brief chapter detailing some of the different tools used by the temple carpenters.


This was one of my favorites (not surprising, being the tool guy that I am) because we get a glimpse of the masters own tools, near as I can tell. I love the stacked tool boxes in the background.....this one for these chisels, that box has detail and moulding planes....this box is for yari-ganna.


You know what gives me the fuzzies? Most of my tools look old and well cared for, just like his. You see the evidence of use everywhere, and you know that every blade is sharp. His saws have been used, repaired, tuned and sharpened. The similarity is mostly because I try to buy decent (although not fancy), well used tools, and most of what I've learned so far has been from examining the best of what I've got.


Finally, some meat. "Making a joint".


The ubiquitous Koshikake kamatsuge, the stepped goose-neck splice, start to finish.


I love to see this guy's layout, and this instruction would've helped me greatly during our Project Mayhem #2.


You'll notice that he uses a big drill and spiral bit to remove the bulk of the waste from the mortice. Smart man.


The remainder of the book deals with the design and erection of the new picture hall.


I like this image, showing how the spliced timber sits in relation to the round post, being just enough to the side that it gains support from the post, but not in direct compression from the timbers that will set atop.


Also, we see that the rectangular beams are joined within the round posts, making round scribe work unnecessary. Practical.


There is some detail on the construction of the massive doors and sills.


Assuming that in time the 500 lb. door will sag, or that the sill will become worn, the parts and pieces have been made to be disassembled as reasonably as possible. I like that.


And the roof. Japanese temple roofs are incredibly complex, and this book goes into quite a bit of detail here.


The photo on right is one of my favorites, the long, graceful curve of the beam....so fine.


Another interesting detail pointed out here, is that the granite paving stones that surround the structure are layed on a levelled bed of primarily dry mortar mix.


Evidently, a ladle full of water is poured in the center, the stone is carefully placed and leveled, then water would be gently applied after all of the stones are set. A gentle mist would seep through the joints, and any remaining dry mortar would soon cure by absorbing moisture from the subsoil and ambient humidity. Fast, clean, and easy, I love it! I've done the dry cement thing when setting fence posts, but it never occurred to me to try the same thing when setting pavers.


After the ridge beam is placed, there is a traditional ceremony of honour and dedication.


This brief chapter describes the ceremony in some detail. The carpenters represent the more anamistic Shinto faith, dressing as priests to honour the forest spirits, then entreating them to leave the new temple peaceably and with great thanks.


After this, the true Buddhist priests enter to complete the dedication ceremony......then everyone involved goes off to a nice restaurant and have dinner and more than a few drinks. Carpenters are the same everywhere, haha.


I enjoyed reading this book, the pictures are beautiful and Azby Brown's writing is very enjoyable. That said, there is almost no practical carpentry here, under 10 pages in all. With this book, you are getting a glimpse into how an exclusive tradition has developed and been maintained for centuries, and there are certainly a few valuable pointers. It will give food for thought, but it's not going to help you build anything, cut the joinery or even use the tools.


It will definitely foster humility. These guys are amazing.

Wednesday, September 9, 2015

Our Hawaiian home....day#3


Back to work.


Renee had lots of stuff on her mind, but what do you do, where do you start when you are beginning with nothing?


Do what is fun!


How about a bench, to rest your weary self?


We've got the rocks.


We chose this place for its quiet location, but also just....the place, you know? There are trees, there is stone.


The idea is to see what is here, then allow that to guide us in what and how to build. Rather than bring in the heavy equipment to strip the ground bare, we want to keep our footprint human sized. Try not to buy, and to build in human time scale, if that makes sense.


Don't pour a foundation that will exist for an eternity, especially when the house itself is total junk within 20 years. I used to love cement, and reveled in the strength it gave to what was being built, but now I view it more as a crutch. A permanent, everlasting.....something, that will be difficult to reuse in any way. Dry laid stone can be repaired, then reused. Forever. Like reverse cement. Another nice bonus.....this lava rock is beautiful, perfectly shaped for easy stacking, and....it's kinda light, too.


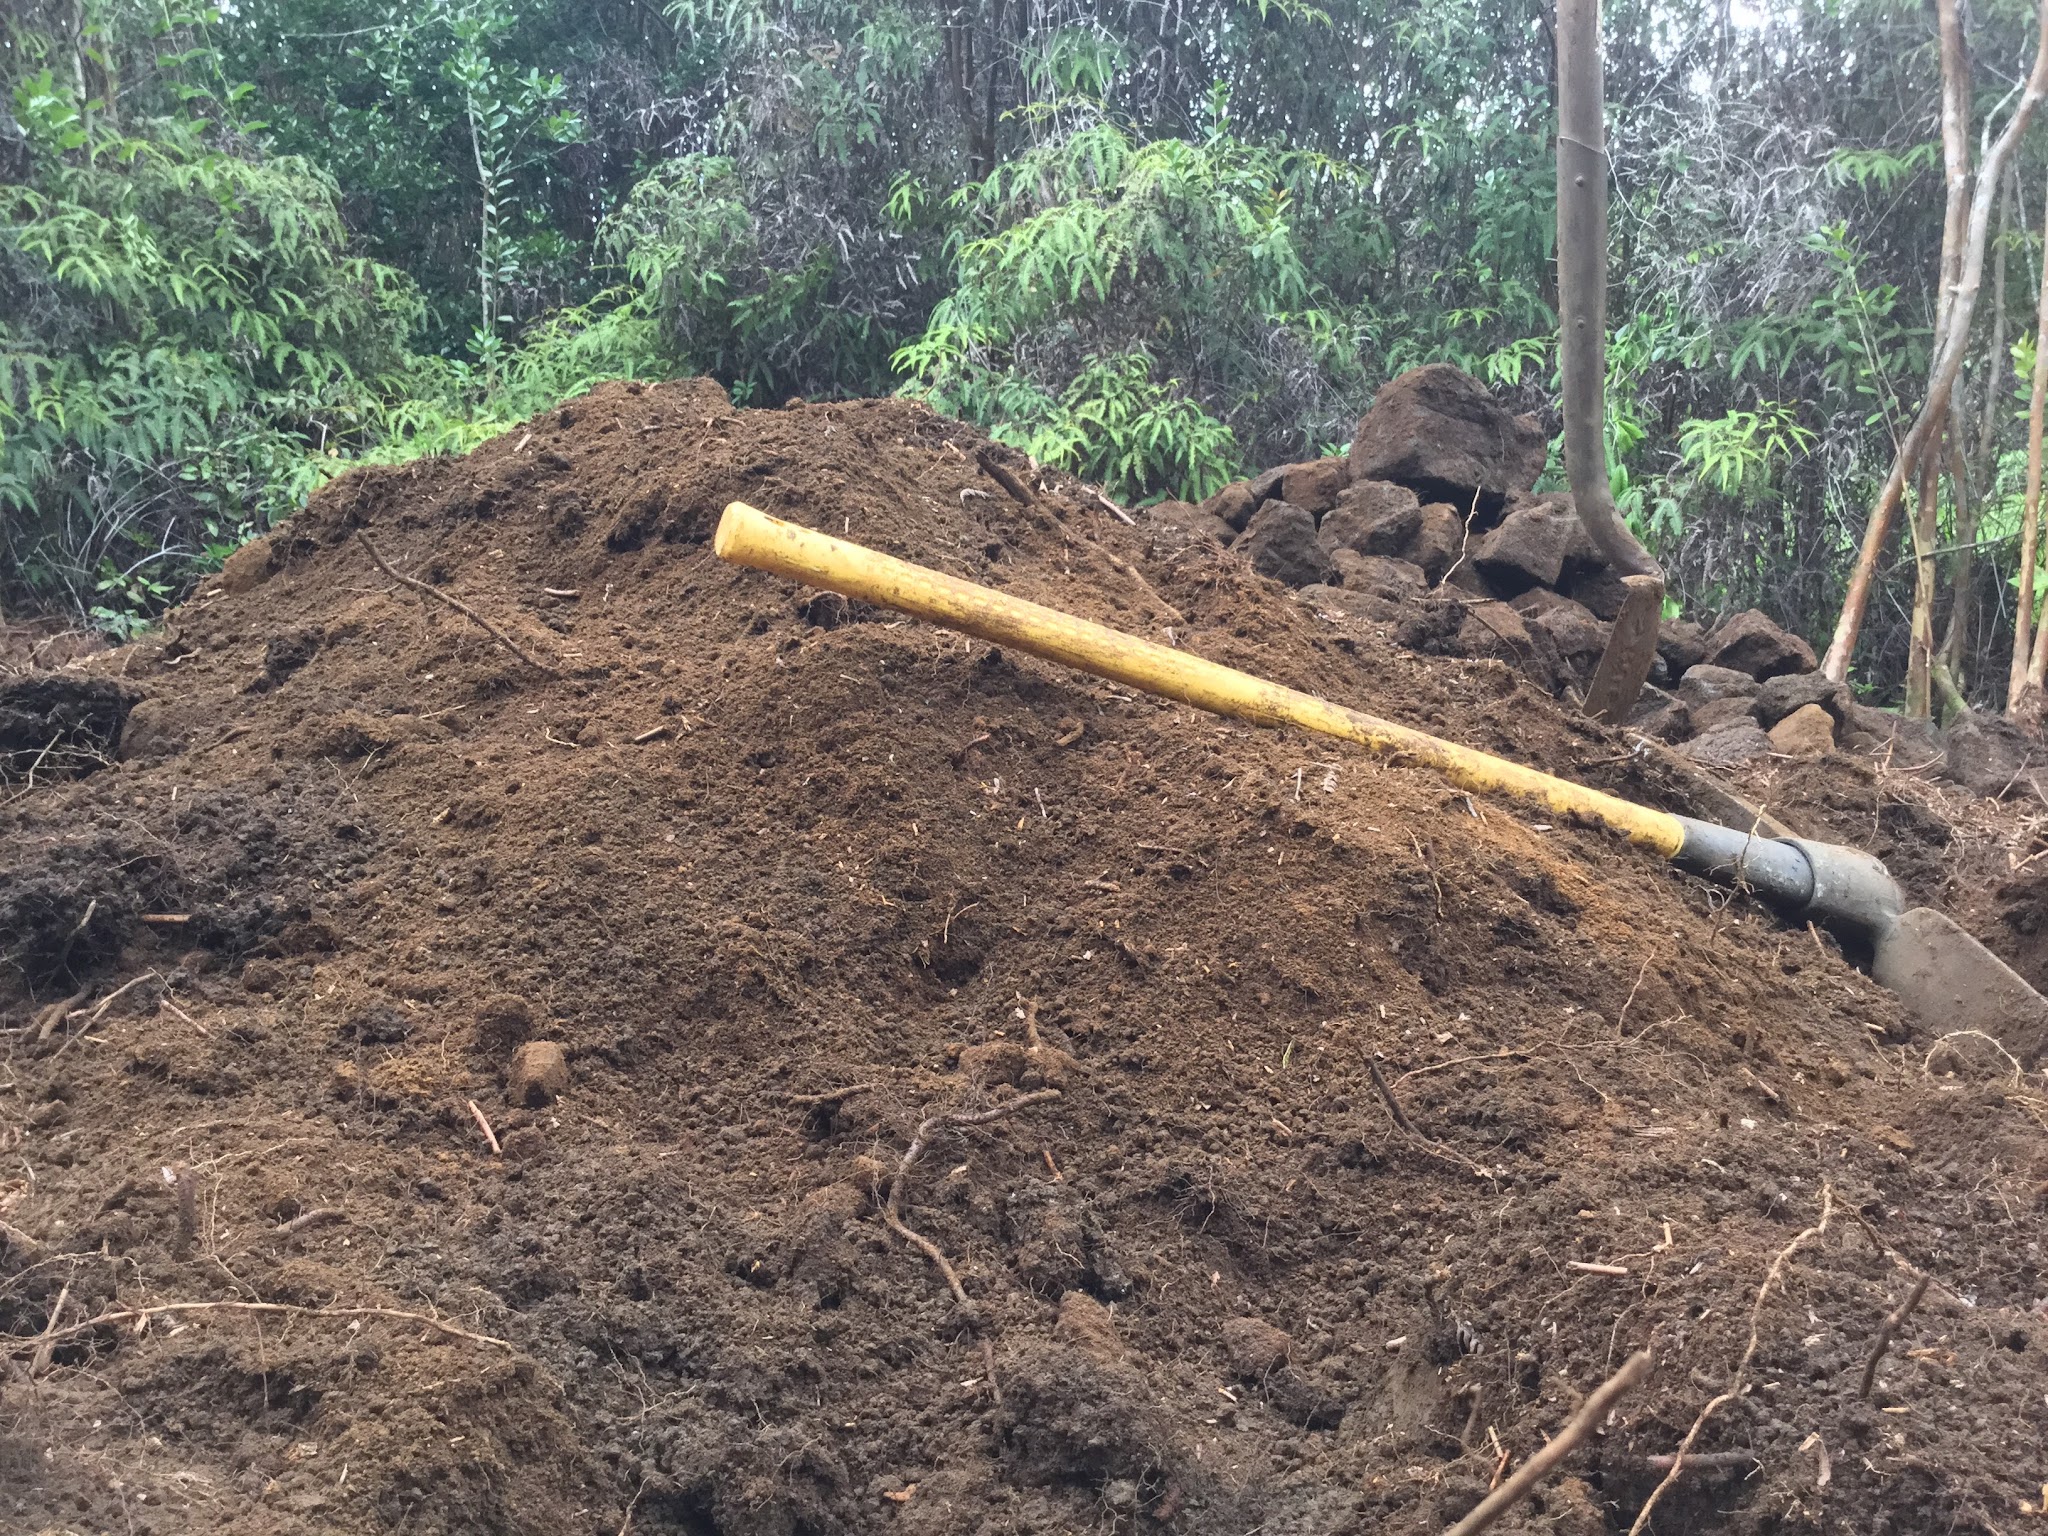
So, on day #3 we dug more rock, and piled more REALLY beautiful soil.


This is better than anything that I've yet seen, anywhere, rich with silty loam, friable and full of good "dirt" smell. It will be interesting to test the pH. God knows we'll have plenty of biochar handy, if we need to buffer the soil in some way. Maybe I'll distill out the "Wood vinegar", see if there's anything to that miracle talk.


Also interesting is that we are finding some of it to be almost like clay. Is a Japanese mud infill wall to be in our future?


Ellie rescued a nest-fallen baby cardinal last week, and despite our fears, the little thing has managed to hang in there. He's looking at the camera, a little pissed off.


I've been on bird duty while Ellie is in school, as the guy needs to be fed every 15-30 minutes. He started out nearly bald, but now has most of his juvenile feathers set, and is taking short flights. Mostly though, he rides around on your finger, and you get a lot of this....


"INSERT FOOD HERE!"


So it was REALLY hot. I'm not really a "sweat-er", and I've never lived anywhere like this. To perspire, just standing there doing nothing and still get drenched.....it's very novel still. It reminds me of a sauna, 'cept all the time. It makes clothing very unpleasant, but I have no intention of subjecting our new neighbors to that sight, lucky them.


So Renee and I are hot and tired from two days of pulling and digging, so Renee wants to do something else that's fun instead. Here's her bench, big enough for three.


I love the way she creates such flowing sculpture. And it's in the shade.


So what am I doing on this hot afternoon, while Renee is slaving away to make us a better life?


I'm sitting in the woods, drinking a beer (or three, haha). Sunlight brings thick vegetative growth, but once you break through the thicket close to the road? It opens up in there, a bit at least. The sun is less intense, it's quiet and cool. The moss is deep and lush, and the ground is a compound of broken lava and detritus. And Guava.


Lots of Guava. It's the thin whippy shoots that make navigating this environment challenging, as they will grow everywhichway trying to get to the sun. Some of the whips might be 1/4" thick, but 15' long and wound around the other growth.


A perfect tripping hazard and the Aluhe ferns are even worse. So. What can we build that uses thin sticks as a material? Wattle and daub comes to mind, woven screens and dividers, trellis material for climbing fruits and plants --The passion fruit are going crazy right now, and will cover everything in sight if you give them half a chance. Pole beans might tolerate this area, with its lower rainfall, we'll see.--.

Anyone have any ideas? Comment!


Just poisoning the invasive species seems like a wrong way of living, but that's an option, and evidently the only way that people have found of keeping the Guava in check. This stuff is seriously crazy, grows like mad and chokes out the other species. It's drops tasty fruit prolificly, filled with hard seeds that get eaten by people/pigs/pheasants and then passed through the GI tract. Planted and fertilized in one. Very efficient.


I would prefer to treat the guava as a resource, it's fruit would make an interesting homebrew, and the wood is very tough, dense and resilient. The down side to the lumber is that the high sugar content in the wood makes it attractive to both bugs and rot. That needs to be considered in designing for its use. Ground contact would be foolish, but properly dried and seasoned, it's good stuff. Stripping the bark immediately after cutting would reduce the bug concerns some, but even after being chewed up by beetle larvae it still retains much of its strength. Here at the tool shed, we've got a hand rail on the stairs that is barely 1" thick, but it's saved me from numerous potential falls. Good stuff. I'm eager to see what kind of charcoal it provides.


Because the trees here are rather thick, the guava has had to grow tall and straight to reach the top of the canopy. Many of these clumps are nicely developed. Here is just one of.....hundreds? I don't know yet, but there is never a shortage of Guava. Here is my size 10 shoe for scale.


The larger ones are a solid 4", but there are many larger ones as well. These are just where I happened to be sitting at the time.


The primary trees are the native Ohia, and the Guava are just filling in the gaps. My hand has a solid 9" span, so this old guy is maybe 12" diameter. 200 years old? These grow VERY slowly, but it's a guess.


The general practice is to plow the land flat using a bulldozer, then trucking the debris to the solid waste station for mulching. Often the mulch eventually works it's way back to the land, to provide a barrier in gardens and landscaping. It's better than nothing, but seems awfully energy intensive. Boring, too. Who wants a flat chunk of land? A lawn, haha! Yeah, right.


Guava, tall and straight, 6" butt, 20' clear. There are hundreds of these right here, millions if you look around.


I'm getting some ideas. Pole barns don't get much easier than this. Mark Grable recently reminded me of a quick way to lash poles together, using a specific twisted wire wrap. I've got the poles and I've got the wire. I've got lots of salvaged steel roofing, too, perfect for throwing up a quick and dirty shelter, ugly though it is. The steel roof also allows you to capture the frequent rains. People hate this Guava and will pay you to remove it (if you poison or dig out the roots, no easy feat.). One of the adjacent properties is so thick with the stuff that you can barely see through it.


Help me find a use for this stuff! As a society, we need to shift our thoughts from buying, to making. Therein lies true wealth and prosperity. Knowledge too. Share what you know.


Don the "Shinglemaker" (one of my favorite blogs, his pictures are so beautiful, showing his strength and understanding of the simple materials that he uses in his craft. He pays attention.) recently wrote about how the work he does is not economically feasible as a business, you can't afford what his work will cost, he only does his best work for himself. Even though I have not 1/10th his skill, the work that I do is still beyond value. It's ironic that by consciously choosing a life of near poverty, we can learn and create such things that are not really available, at any price. I give away what I make, but you can't really buy it. That will probably change in the near future, but the idea remains.....what is our time/life worth?


The idea of true cost and pricing is difficult, as good, solid construction, simple and built to last for generations is expensive, particularly in terms of the skilled labor involved. Fewer people every day are knowledgeable about these things and we are so far over the curve, that the days of once common sense and practical knowledge are distant beyond sight. We are over the horizon. Don writes of a frame for a window, built solid, yet with knowledge and understanding of how practice and time flows. You can build a window frame that will fit one window only, then when the window breaks, as they all will in time or better windows are now used and the old ones are obsolete, or out of style, or....whatever, you're screwed. It probably doesn't matter, because the house will probably be ready for the landfill by now anyways.


Or.


You can build solid, but with the understanding that times change, and buildings change as well. Don admires the traditional Dutch practice of framing an overly large opening so that it can accommodate differing standards. A larger window? No problem. Cut the opening bigger. Rotten wood? Cut and replace. His example was specific to massive construction like brick or stone building, but the concept is one that should be kept firmly in mind. How will the building evolve? Even if it just evolves into the ground as a decayed ruin......that is good, too.


Monday, September 7, 2015

Wanna buy a house?


http://www.zillow.com/homedetails/6255-SE-Ash-Ln-South-Beach-OR-97366/60372522_zpid/


It's officially on the market, our old house in Newport, Oregon. 8 years of blood, sweat, and probably a few tears as well, it's ready for new owners. It's a cute little bungalow beach cottage, and has basically been rebuilt from the ground up. It didn't look at all like this when we bought it in 2007, not even close. I lost all of my "before" pictures when our cats attacked my old laptop, so you'll have to just trust me but......yeah, it's pretty much a new house.


Ahhhhh.....Renee found me a "before" picture! This is where we began.


Yeah, it looks a little different now. Back then, it had fewer windows, a nearly flat roof, and tons of wonderful little bats living underneath the siding. I miss the bats, the other stuff.....not so much.


We enclosed the front porch, to make it as bright and welcoming as we could, perfect for plants and sun loving cats.


Throw open the French doors ( there are 4 sets of them on this floor of the house. We put French doors everywhere!) to open the house up, making it one of the "warmest" and most inviting houses to be found on the Oregon coast.


Our realtor Brody Beckstead took these pics on a cloudy day, but despite the summer fog, the house is still bright and happy. You appreciate warm colors the most, when the sky's are gray.


It's a quirky house, full of arches, windows and doors. The wood floor is original to the house, and most of the window sills I milled from old-growth redwood, the smallest part of an ancient monster that washed up on the beach one winter.


This small room at the southeast corner of the main floor looks out over a 40 acre wetland pond.


The seasons are measured by the changing nature of the area. Through the winter, you can watch the storms whip the surface of the water into a frenzy, while springtime brings flocks of geese, a natural resting spot on their travels north. Some will stay long enough to fledge a brood of chicks through the summer. Fall brings the geese back again, as well as ducks. Hooded mergansers and buffleheads love to dive and scrabble the bottom, looking for food.


Hidden around the corner of the living room is one of the last projects that I had time to work on, a tiny set of stairs.....


.....leading up into a sort of attic bedroom/yoga studio/home theatre area.


Renee made that awesome railing last month when she was visiting the mainland for a fisheries conference. Nice work!


Most of the kitchen wall is a window, looking out into the private front yard.


Funny story.......We bought a monster 4'x8' window, then spent a weekend installing the impossibly heavy bugger. Balancing on ladders and suspending the 250 pound window from the protruding roof framing, Renee and I somehow managed to install the thing without either breaking the window or ourselves in the process. We lived with it for a week, then decided that we wanted an even BIGGER window, so we did the whole mess again the following weekend, except the replacement window was even bigger and heavier. We settled on a 5' x 8' window, as we wouldn't have been able to lift anything larger, haha.


The back porch was rebuilt last year, using Port Orford cedar, a sadly rare wood that is just amazing to work with. POC was what got me started using Japanese tools in the first place, as the cleanly planed finish is absolutely beyond compare. You need EXTREMELY sharp tools however, so......you know how that goes.


One of our first projects for the house was to strip off the existing siding, then added 2" of foam board insulation and a self draining rainwall, topped by new, premium red cedar shingles. The design of a rainwall acts as an additional drainage plane, and with the driving rain that you can get during the winter storms, keeping the wall dry is imperative to a buildings longevity. A traditional shingle wall often holds onto dampness, causing premature splitting, cupping and rot of the shingles. Not so with a rainwall. These shingles should last for 50 years or more.


It was an ungodly amount of work, though. Just FYI, if you're thinking of implementing rainwall construction.


The realtor didn't take any pictures of my downstairs workshop.....the best part of the house! It must be pretty messy down there, unfortunate because the work area is nice and bright, another warm and inviting room, full of more windows. The basement is accessible through both an interior stairwell and an exterior door that opens out to a nice terrace. I had always intended to lay a flagstone patio, but didn't get around to it.


Looking at these photos reminds me of the 101 little projects that didn't get finished. You always think that you'll have time, but.....


So, the old house is for sale.....what's happening in Hawaii?


Some crazy lady with an axe tore out a big patch of Aluhe fern!


Amazingly, under all that Aluhe is heavily fractured lava, loosely embedded in very rich soil.


There is almost zero soil anywhere in this region, so composting, mulching, and soil improvement have reached religious status. You can't even buy decent soil, not from what I've seen, so to have a nearly limitless supply.......


Sweet.


Yesterday's toil gave us about 1 cu/yd of rich soil, and 1.5 cu/yd of building stone. I had no idea what we would find under the cover of Aluhe, and I had feared that it would just be an impenetrable layer of solid lava, but that's far from the case. The beauty of having fractured lava rubble substrate is that we should be able to do our clearing and leveling by hand, without having to resort to renting a bulldozer. The work is physically demanding, but doing this sort of thing slows things down to where we can really examine what our priorities are. How big a clearing do we need? How large of a house? How lazy am I, haha?!


This process of work and slow progress is becoming interesting in its own right. If you build everything by hand, move each stone, place each post, dig, level and fill, everything hard, heavy and slow......you really want things to be done well. Solid. Simple.