Thursday, October 30, 2014

A gift for a friend-----refurbishing a seme-ganna Japanese plane

I've been building some stairs, to access an attic bedroom that we built only, what.... 6 years ago! Already? The ladder that we had been using had it's charm, but I think that the renters of our house might want something a bit more traditional.

Treads in the works.


And.... A gift, for a friends collection, a seme-ganna.

At long last, here it is.

From this......


.... To this


I would like to tell you about how difficult this project was, all of the interesting little details and tricks that make these projects so gratifying, but......

This was super easy. A light surfacing, to remove the ubiquitous red Japanese paint (My friend Brandon says that every old american tool that he buys has spatters of white paint on it. The Japanese tools that I buy have red. Huh, Go figure!), left the wood looking wonderful.

There was some iron staining around the mouth (What have you been eating?!!) and top of the dai. This is simple to remove, using a phosphoric acid solution, typically sold as a paint prep for rusty metal, or an etchant/cleaner for ceramic tile. Swab a little on the dark areas and it will fade away in 15-30 minutes. The acid is very mild, no worries (I mean, don't drink it, or anything, but...), and doesn't discolor the wood.


The irons were a pleasant surprise. They are virtually unused, and only required a minimum of attention. I gave them a brief traditional rust bluing, to even out the slight amount of discoloration from the surface rust.

The surprise was that the main blade was forged from ren-tetsu wrought iron (unusual for this size of blade), and even more surprising was that the sub-blade is laminated as well (definitely not what I was expecting).

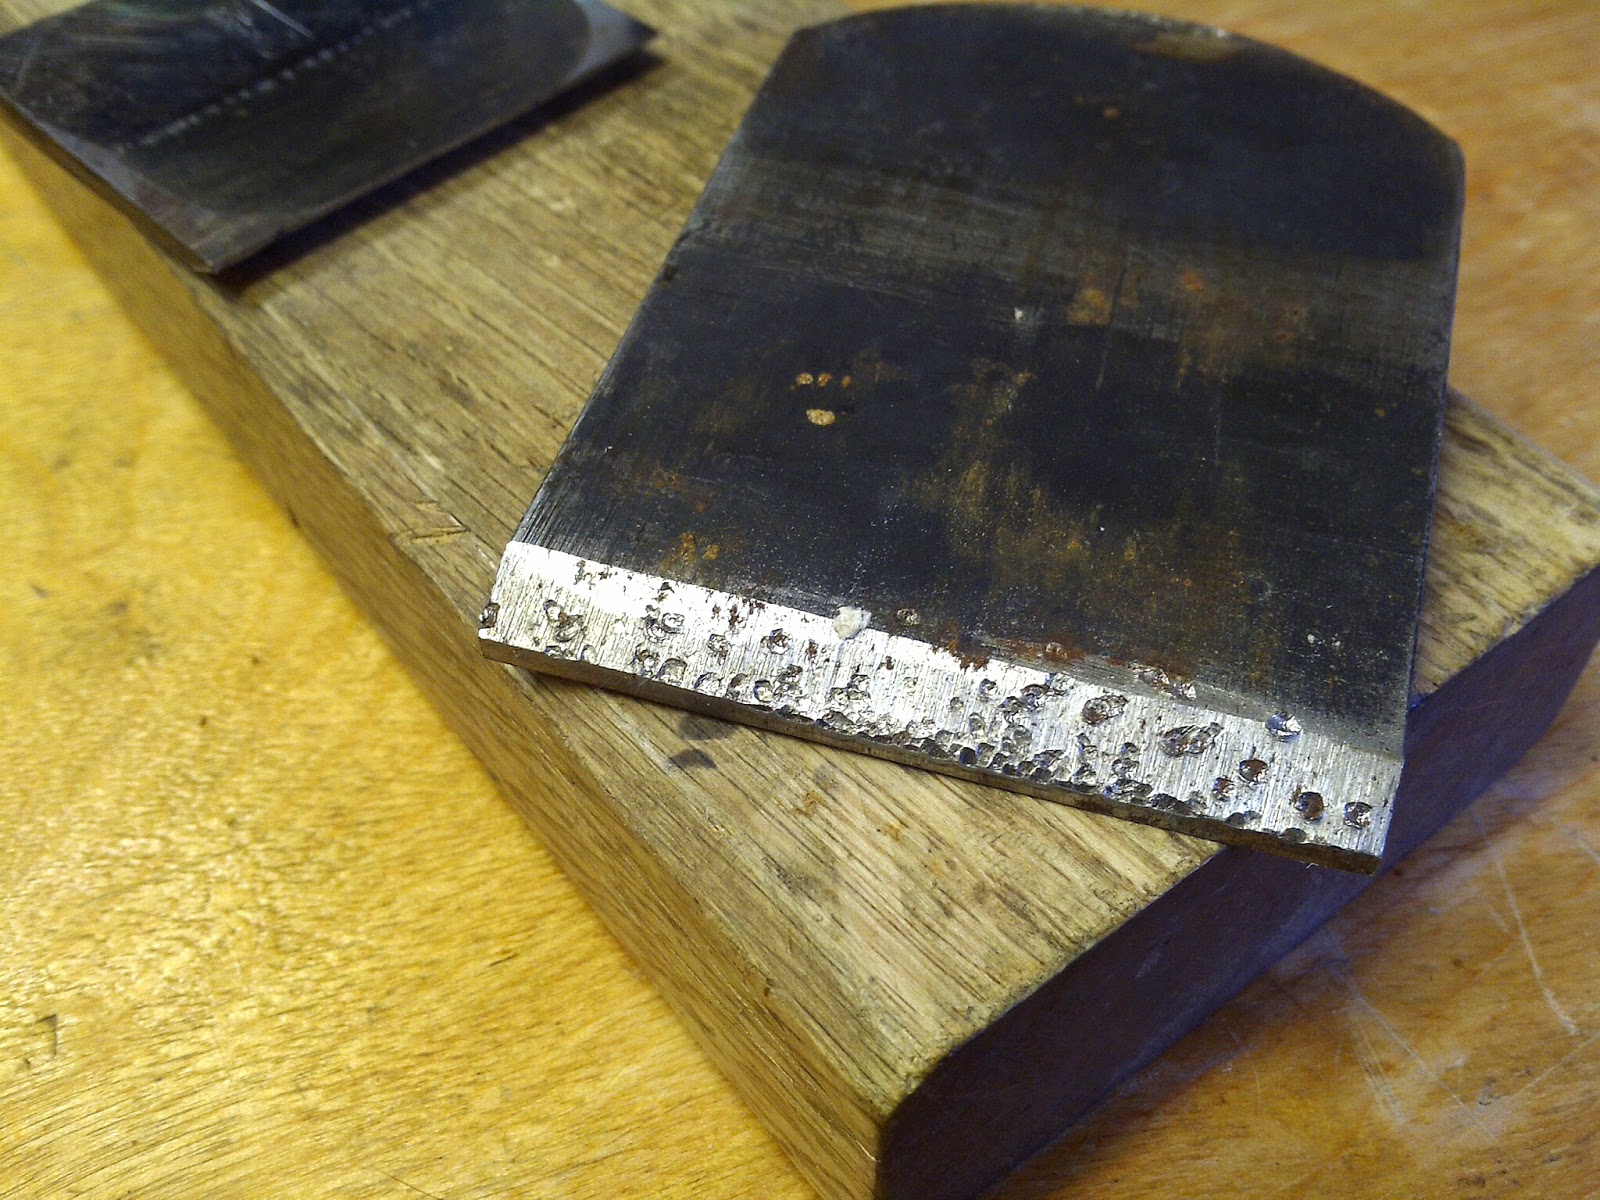
Notice the dinged up corners?


The ren-tetsu is very nicely layered.


Unfortunately, as I was removing the blades to photograph them, haha! Dropped!

At least we know that the  hagane isn't brittle hard, eh Michael?

So, off to the stones for a very quick touch-up. This was done rather late in the evening, so I did this old-school (no power, just muscle).

My stone sequence for this quick project.


Two cheap China diamond stones (mounted by me on wood bases), a strangely discolored white aluminum oxide based man-made waterstone (probably a King Hyper, and rapidly becoming a favorite of mine), and two naturals to finish things up.


The stone on the left is an aoto of some sort. It is relatively soft and serves to ease the transition, from the deep angular scratches of the artificial stones to the shallow, gentle scratches of the natural finishing stones.


A quick way to evaluate the relative hardness/softness of a natural waterstone, is to dab a bit of water onto it's surface. The softer stone quickly absorbs the water, while the hard stone absorbs little or none.


The choice of a hard stone versus a soft stone is rooted in some very interesting physics. I'm not going into that now, but it's something that I am trying to get a better grasp of. Later....


Because I mucked up the blade pretty well when I dropped it, I need to flatten the edge first, using a diamond stone.


The newly flat edge is uneven, because the blade had been partly skewed. In for a penny.....


I reset the bevel, using #80 grit 3X sandpaper (a 3M product), mounted on glass.


Yes, that is a sharpening aid! I'm feeling lazy. They aren't worth a crap for Japanese plane blades, but for narrower stuff they can be damn handy.


Instead of letting the burr form and fall off on it's own, I have begin removing it as I go, using a fine grit stone.


It takes a few moments longer, but *maybe* provides a stronger edge. We'll see. My thought is that the burr falling off on its own, is due to metal fatigue, and work hardening is not what you might choose for a durable edge. This idea isn't original I'm sure, but it is something that I want to try it out.


 It's nice to have stones large enough to use with a guide, if needed.


The hard Ozuku asagi gives a really nice finish to most blades, and is one of my favorite stones. You can really see the beautiful layering pattern in the wrought iron.


This blade is also a bit unusual, in that the stone gave the wrought iron a bit of a purplish cast. Every one is different. I love it!


Very close to a full mirror polish. It's funny that these cameras make it so difficult to for me to get the photos that I DO want (I want a macro shot of the layered jigane), but give me many pictures like these.


Here is where those stair treads are going. Obviously a closet (at least, it was.).


Thankfully, there is ample feline supervision in our house.


Cat tested.


Friday, October 24, 2014

Diamond everywhere! Testing some cheap diamond files for sharpening


More sharp!!....... Inexpensive , China made, diamond tools for sharpening the hardest Japanese tools. It's amazing how cheap ($) this stuff is getting.


I had bought a set of small detail bits suitable for a dremel type tool (1/8" shank). They worked well, and proved sufficiently durable, that I bought a larger set (1/4" shank).

Set of six, 1/4" shank, $11. 

I specifically got these for carving out profiles on some small kanna blades, used for cutting edge profiles. They seem to work just fine, the diamond grit is evenly distributed, and well adhered. If used with a light touch, these should give a respectable service life.


It’s pretty much impossible to determine *exactly* where any of these tools are made, so performance is unpredictable. At the other end of the performance spectrum are these diamond fingernail files. Diamond tools are everywhere!

4 For $1(top), and $0.99 each (bottom)

The upper package was found at the $Store (4 files for a dollar, I used one already.) The two at the bottom are $0.99 each at Walmart. Shockingly expensive, haha!

The $0.99 files are small, cheap ($), and cheap (quality). They work, to a limited degree, but lose their abrasive qualities rather quickly. #220 grit or so.

New on top, and after a few minutes of light work on steel (bottom).

They would probably work just fine on fingernails, but I'm using these files for harsher duty. Japanese plane blades, high carbon steel, HSS......whatever is too hard to sharpen with a standard file. 


The file on the right hand side is one of the cheapest-of-the-cheap $Store files. Larger, slightly more coarse (#180 grit), better looking and grit on all 4 sides. I was psyched to find these at the $Store, but they only had two packages remaining. I bought both!


$2 wasted! Service life can be measured in strokes, 1-2-3-done. I suspect that the file blanks are dipped in diamond fortified paint, as opposed to being electroplated. One file has a coating that stripped entirely off, after only a few minutes of VERY ineffective work. 


So, from the left, we have new $0.99, used (smooth feeling) $0.99, and $0.25 $Store file. 


Unfortunately, none of these are worth buying, even for a cheap guy like me.


For $11 (free delivery), these diamond files are 3" working length, come with 6 grits, and feel very durable. The electroplating, particularly on the scary rough #40 grit, is thick and holds up in use. These files work.


As the tool breaks in, more diamond surface is exposed, and the file becomes more effective. On short acquaintance, I am pleased.


I don't know much about Japanese saws, but I'm getting there. I bought a beautiful little $12, traditional 75mm yasuri feather file from eBay seller: Sakura-pink, to compare against a cheap ($11+free delivery) China-made diamond file.


Not my file-work, BTW! This saw is still fresh.

The sizes are comparable, but the "real" file has a slightly finer profile, and is MUCH faster in use. We shall see which is longer lasting.


About 8 years ago, I bought this knife sharpener at Walmart, for about $12. It has seen VERY hard use, and still works well. Some of this cheap China stuff is pretty damn good.


All diamond tools settle in after a period of time, sometimes minutes, sometimes months. This thing mellowed out after a few weeks, but then...... just won't stop working.


Coarse on one side, fine on the other. The fine is now around #600-800 grit.


If you have some serious metal to remove, but don't have access to a grinder, here is one way to do it by hand.

This kanna blade has had some serious ura-dashi done, and needs to start looking like a cutting tool again. The flat tip is nearly 1/8" thick..... That's a lot of steel to remove!


I tape a line, to act as a guide for establishing a new bevel. Most of the material to be removed is soft iron, so I can use a standard bastard cut file to hog out the bulk of it.

I love working this soft stuff. This only takes 2 minutes.

You can hear the difference, once you get to the hard steel lamination line. Stop, before you ruin your file.


Then use the diamond file, but ONLY on the hard steel portion. I have found that soft steel and iron can strip diamonds from the file (not these, but other diamond sharpening stones, so....), so ONLY use diamond on the hardest materials.


Finally, I finish the bevel using sandpaper stuck onto glass. This establishes a final, level surface over the entire bevel.


The 3M 3X line of sandpaper comes in funny colors, and uses a ceramic abrasive that fractures down nicely in use. It lasts WAY longer than the other common abrasives (al-ox, silicone-carbide, etc.) and only cost slightly more. Money well spent.

Although this was an extreme example, this blade only took about 15 minutes to get to the stage where the sharpening part starts. That's not bad, by my book.

I could've used JUST sandpaper (the good stuff)...... Maybe 2 sheets (so, $3 for sandpaper) and 30 minutes time. It *feels * like harder work, though.


Saturday, October 18, 2014

Best bandaid ever!


Another tidbit from the Sadatsugu Watanabe videos.....


On video 5/5, at about 10:15 he cuts himself with his chisel (It happens to the best of us!).


He sticks himself back together using Super-glue (It's not just for kanna repair™), then wipes up the mess using those wispy wood shavings.

The glue alone isn't durable enough, so at 12:00 he reinforces the instant suture..... using a small scrap of a wood shaving, saturated with glue.


Chisel and blood omitted for clarity


The best bandaid ever (and think of all the money I'll save)!


Setting the chip breaker blade on a Japanese plane

We are moving to Hawaii, and with only a few short weeks remaining between now and the big event, I've been very busy. Building stuff using tools, as opposed to just playing with the tools themselves. And planing...... Lots of planing.


A few days ago, I was watching a YouTube video. I'm gonna warn you now. If you just love watching someone work (using Japanese tools), these videos are great.

But.

It is a demonstration from a European woodworking event, and the sound is terrible. Not much is happening. It is long (1/5 is 45 minutes!).


If you want to watch, great! But this has been in my "watch later" list for nearly 2 years now, and prior to this, I only got to about 15 minutes before giving up. Well, a few days ago, I was in serious need of watching someone else work, and.....

Way in there, maybe around the 35 minute mark, there is one little tidbit of knowledge that I had been missing until now.

Do you ever feel like you are the last guy to arrive at the party? Surely all of you Japanese kanna enthusiasts already know this one, but in the off chance that you don't...... I've never seen this presented before.


When I am using a single blade kanna, I get long, thin shavings that actually leap from the throat of the plane. For someone used to western style planes, this is alarming the first time that it happens, and it's really fun!

When I use a double blade kanna, the shavings still make that amazing *Riiiiiiippp* sound, but the shavings are almost always curled forward, into little tightly rolled shapes. That is due to the "chip breaker" effect of the Osae-gane back blade, compressing the shaving as it comes off of the main blade.

Right?

Those Japanese carpenter's kanna don't do that, though. Even their 2 blade kanna send off those self-propelled shavings that I love, so what am I missing?


This is one of the old beater kanna that I fixed up a while back. There is something about the composition of the steel, the tempering, something. For whatever reason, the blade holds an acceptable edge for a very long time, and it is quick and easy to sharpen. It isn't suited for the finest work, but it is providing good service as a rough/jack plane, and I've been using it a lot.


The blade bed is uneven, so I fine tune things a bit,  using Super-glue to tack down some thickish wood shavings.


It doesn't take much. The shaving is translucent, but is thick enough to give the main blade a little more lateral stability.

Because there is a big hump right in the center of the bedding surface, the main blade had a tendency to pivot, and the poor support translated into cut instability.


The little bit that I glued onto the right hand side helped greatly. It is the slightly cleaner strip on the side. Most of the bed is still scraped clean (although blackened and dirty looking).

What I am *really* working on is the fit of the back blade/secondary blade/chip breaker. The Osae-gane. This one was too tight, and with the main blade rocking and rolling, fine adjustment was difficult. It worked just fine, but I want it good...... REALLY good!


The Osae-gane needs to be set close to the cutting edge of the main blade. How close? As close as humanly possible!

0.1 mm is a good number, but how do you know? If I hold the kanna upside down and tilt it just right, I can get a glimpse into the throat.

 "Say Aaaahhh....."


Underneath the white horizontal line of the throat opening, you can see the sliver of main blade that is exposed. This is as close as I can get. Any closer and I can't see what is happening. I thought that this was good enough.


Not quite. This is probably close to 0.3mm.....I want 0.1 mm. So, back to what I learned from the video.


If the shaving curls forward.....


... tap the Osae-gane down, closer to the cutting edge. Small taps.


Tiny tap....


Sooooo close.

Itty-bitty tap.....


Bingo! Notice the soft sapwood on the left, the denser heartwood on the right. The shaving is perfectly even in thickness. Cool!


Hilarious! A kanna rooster-tail!


When properly adjusted, there is a very sophisticated interaction between the body and blade of the plane. The Osae-gane stabilizes the main blade, but it also conditions the wood shaving as it leaves the cutting edge. These shavings are only rigid for a few moments, before turning all limp and drifting away (or getting *in* the way). The shaving is NOT just getting thicker due to increased downward pressure on the cutting edge.


So.... Funny looking wood shavings are great and all, but the important thing is that tear-out is greatly reduced. 0.3mm was good enough for a flawless finish on an easy wood like pine, cherry, or walnut......but this Port Orford cedar can give me fits. Even stuff with perfect grain can blow out in the most unsuspected areas. Maddening!

This piece is flat grain, so diving/rising grain, combined with a handful of tight knots.


I can plane diagonally. I can zigzag back and forth, changing directions in the middle of the cut.

There is a little fuzz, but no big chunks are missing.


This is exactly the type of thing that would've been causing major problems before. The finish would be perfect, had I not gone too far in adjusting the Osae-gane. I overshot the edge a couple of times while trying to get some decent photos, messing up the main blade.

Oops.


This was a big piece that was missing from my puzzle, I just didn't know it.