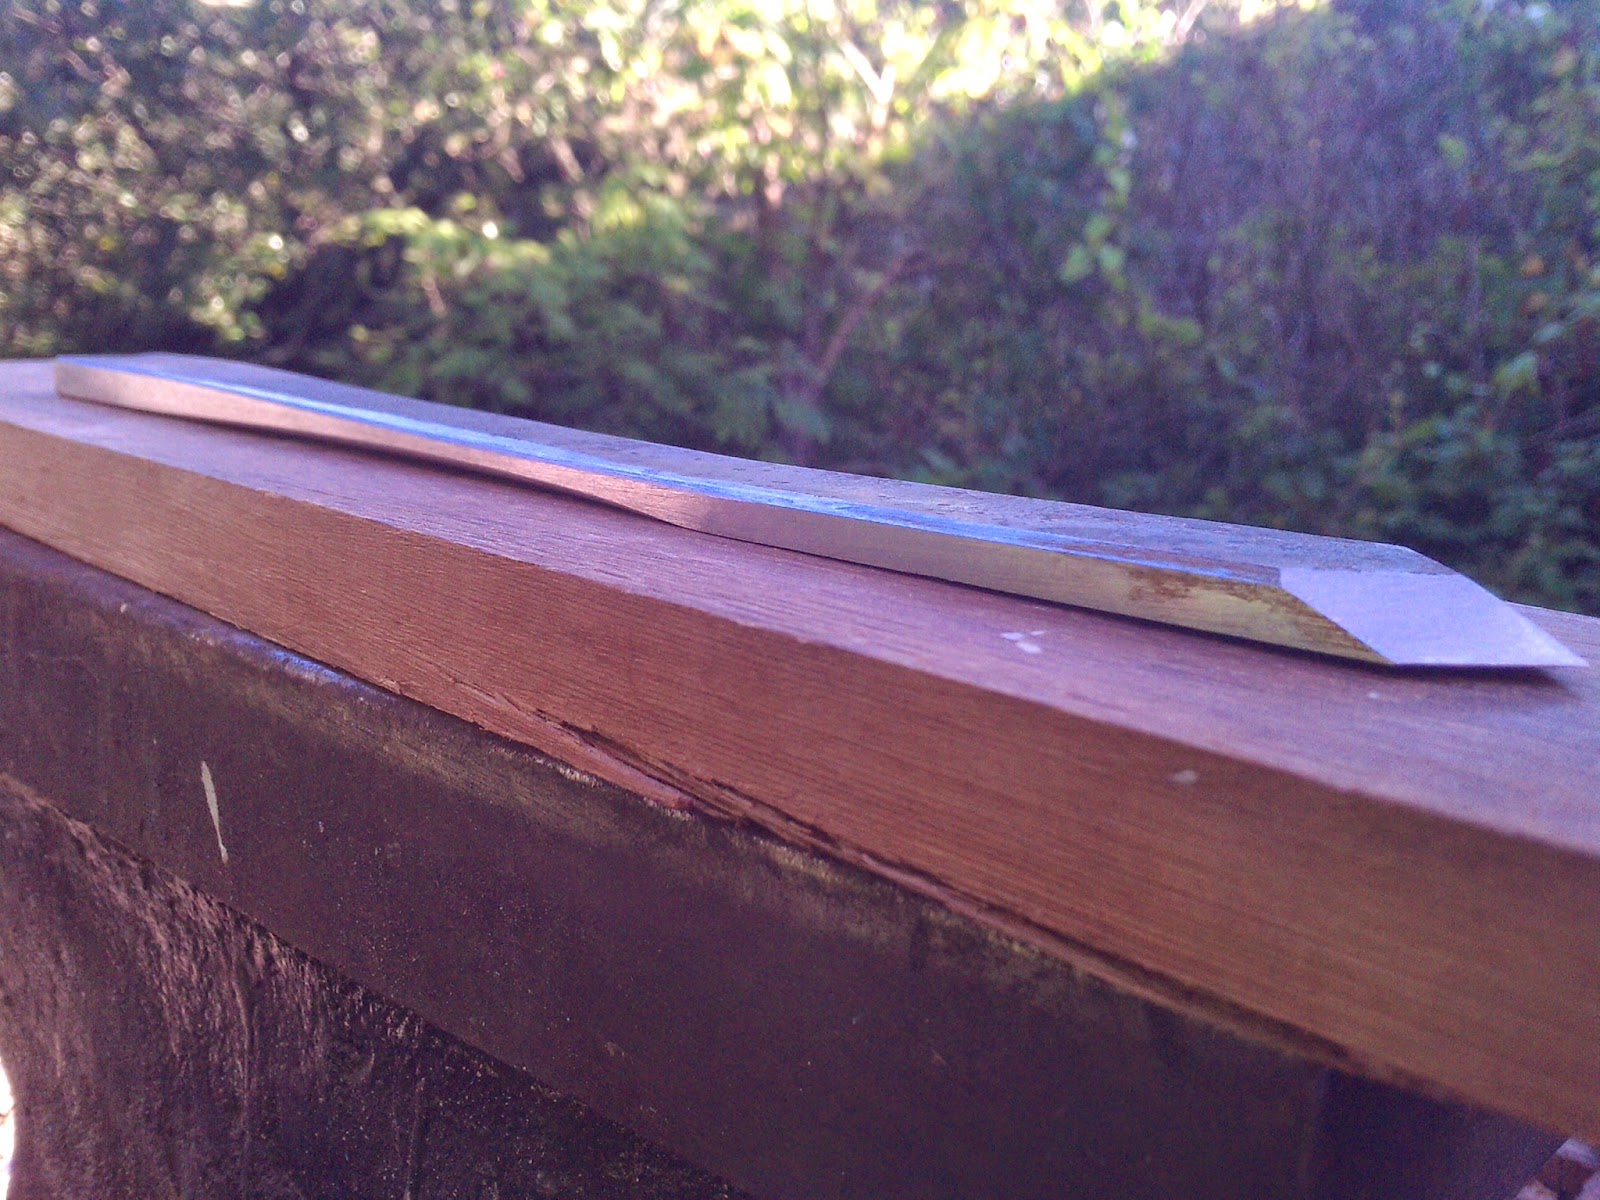
So it's time for the final quench, the action that determines the ultimate usefulness of an edged tool. This is where the steel becomes hard. Or shatters. That can happen, too (but usually doesn't..... Yet another wonderful aspect of laminated blades).
In preparation for the quenching process, I coat the entire blade in a very thin coat of mud (more of a wash, really). The reason that this is done is twofold. The clay covers and protects the steel, isolating it from the oxidizing environment of the forge, which can strip carbon from the steel, reducing its ultimate hardness.
When you plunge a red hot piece of steel into water, vapor is formed at the steel/water interface. The water vapor actual isolates the steel to a certain degree, lengthening the amount of time required to cool the steel. We are talking fractions of a second here but, for this stuff, time is of the essence.
The ultra-high carbon steels used for this style of construction require an extremely fast quench time to achieve maximum hardness. The clay wash acts to disturb the formation of the vapor jacket, making for the quickest cooling time possible. So again, clay makes for a harder blade.
I just love imagining how these traditional techniques must have evolved. You are a blacksmith. If you leave metal in the forge for too long, it will burn (oxidize), so you want to put something on the metal to protect it from the harsh flame. Everyone knows that clay soothes burns. And hey! The blade gets harder too! Let's keep doing this!
A charcoal fire provides a gentle heat that minimizes the possibility overheating and oxidation. When you combine the charcoal heat with a clay coating, a distinctive oxide skin is formed on the metal, giving it a soft appearance, something like finely brushed velvet. While not extremely durable, the oxide coating does protect the metal to a degree, and looks WAY nicer than paint, haha!
Quality tool makers like the charcoal oxide, because it displays, to a knowledgeable person, that the tool was made with care. I knew that a charcoal skin (as it's called) was a desirable trait. All of the really nice (expensive!) tools seem to feature it as a selling point, and now I know why. Now I need to figure out how to actually DO it. There is little information that I can find. Water, natural sharpening stone residue, and a bit of charcoal dust..... That's all that I've found, so far. I need to experiment. More charcoal? Add iron oxide powder to the mix? Any ideas?
There are many western blade makers that use clay coatings on a blade to induce the formation of a "hamon". This is the stereotypical smoky wave shape that you see on samurai swords. In hamon formation, you are using a thicker clay coat to dramatically alter the quench speed on different portions of the blade.
If you are making a sword, you want a rock hard edge capable of great sharpness. If the entire sword were that hard, it would shatter in use, so you need the core and spine of the blade to be softer. This gives strength and durability. The hamon is a manifestation of steel transformation. It is considered beautiful in its own right, but loses its relevance when used indiscriminately. Form should not supersede function.
This is a form of differential hardening. This isn't what I am doing. I am using the clay to make a harder blade, not soften it. All of this is fascinating........Earth, iron, and water. Elemental.
Before I perform the quench, I want to refine the grain of the steel, to get it as fine as possible. The way that this is done in the modern bladesmith protocol is to perform a process called normalization. To normalize the steel is to homogenize the grain structure as much as possible, while concurrently reducing the overall grain size.
I normalize in three stages. I heat the blade in the forge to an even bright orange heat, then remove the blade and let it air cool. This is pretty hot, which makes for a large grain size, but at least they are ALL large. I do this a second time, but this time, I only bring the blade to a bright red, then let it cool. Finally, a third time at a dull red, just above the point where the steel become non-magnetic. In theory, this will give the steel an optimal (small) grain size.
Japanese blacksmith's don't do this normalization process, as far as I know. If you do stuff like this day in and day out, over multiple generations, any process will go through an outcome driven evolution. Good ideas gets preserved while the bad idea get discarded. I am certain that there are hundreds of minute details inherent in the traditional forging process that make normalization unnecessary or irrelevant in this case, but because I am working in isolation (and a total beginner), I just use my best judgment. This three stage normalization shouldn't hurt, and might actual help a novice make a successful blade. It seems like a good idea, right?
OK, NOW it's time for the final quench. Fingers are crossed.....
Seems OK.
Things happen swiftly at this point, so photos are lacking.
Before the quench, I had bent the blade opposite to the expected direction of distortion. A laminated blade will tend to warp towards the steel side (EDIT!! See below, my bad.....) so I induced about 1/8" over a 5" length.
This was too much.
I saw very little distortion at all, but surely there was some. Within the 1/32" to 1/16" range? When I quenched the blade, I plunged the blade into the water vertically for a 3 second count (the steel used requires less than 1 second to harden), then pulled it from the water. The moisture immediately evaporates, then I dip it back into the water very quickly, splash, splash. I hope that this interrupted quench will help keep the blade from tearing itself apart. The stresses imposed on the blade during this process are varied and immense.
***********EDIT!!!***********
I've got this one completely wrong! The blade warps towards the iron side! High carbon steel expansion locked into a physically larger structure, so I need to counter bend to the high carbon side. There is a problem with this, however......
Sometimes the blade doesn't warp! This is one of those details/experience/luck kind of things. Temperature of the metal at quench, temperature of the quenching media (ei: water), grain structure of the steel compared to the grain of the iron, all of these components will effect the final outcome.
As an example.....
I made a blade the other day, but the weld was a partial fail. Perfect for some destructive testing! First, though, I want to practice my quench technique. I am currently doing an interrupted, 1-2-3 in (until the red disappears), then removing the blade hot from the water. Water is at ambient (60° F), thin clay slip coating. Charcoal fire, bringing to barely above nonmagnetic.
First quench warped badly towards the iron side centered at the bad weld location. The weld had sheared, allowing the different metals to move independently, producing a larger than normal warp. I hammered the blade flat, using a log as an anvil, but otherwise took no particular care.
Next, I practiced some grain refinement/normalizing, by bringing the blade to a high heat, a bright red/low orange, then out to cool to a black heat. Repeat, but only to a medium/bright red, then again to a red...... You get the picture.
This time, there was no warpage at all. I cut through the iron of the blade, right at the failed weld, then broke the blade in the vise. The grain of the steel was very fine (this stuff just amazes me! Metal crystals!), as hoped. I pried the iron away from the steel, to test the peel strength and find the extent of the bad weld, the cut the blade fully through, leaving a presumably good blade, 4" long.
I next brought the blade to a full red, then cooled to black, thinking to relieve some of the stress that I had imposed on the blade. Three perfect quenches, with little to no warpage, resulted.
I brought the blade to a bright red, then quenched. This resulted in a substantial warp to the iron side. Interesting! I hammered the blade flat. By this time there are a few areas where the hard steel laminate has shattered, so that's about it. Exposed steel grain is predictably large.
Final treatment was two reducing heats to bring the grain size down, then quench at barely magnetic. The blade was then broken, to reveal good weld adhesion and a fine grain structure of the steel. Fun stuff....... Poor little knife :-(
OK, boring to read, but really fun to actually perform. Short form is that a series of reducing heats may serve to refine steel grain size to a minimum, and may reduce the likelihood of post quench warpage. In addition, tempering releases some of the tensions induced during the quenching process, and may reduce some of the warpage. I may wait until after tempering, then straighten a blade.
This brings me to my second warpage point.
A warp to the iron side is easy to correct, because the soft iron will stretch, to accommodate the iron. This process is essentially a stress relief. A warp to the steel side is hard to correct, and possibly fatal to the knife. To correct this condition puts the steel in tension, and requires the iron to compress. This is not likely.
***********End edit************
While the blade is still warm, I sight along the length to determine the degree of warpage. Little to none..... Hmmm.
I haven't done this enough to determine the reason for the lack of distortion, but it may have something to do with the normalizing procedure. There are so many factors to consider. In any event, I grab my instruments of torture, and start tapping, then banging. This is tough stuff!
I use a hardwood block and cedar shims to cushion the blade and to minimize the amount of scarring. I would like to preserve the forge black oxide finish as much as possible.
A few strikes get me to this point, where the 5" length of the blade is fairly flat.
The blade (at the very tip) is still high.
A little rubbing on a (flat!) sharpening stone reveal the highs and lows.
I do what I can, using a soft mallet on this difficult and vulnerable location. This helps a bit, but this is too general an application of force.
I need more precision. Ura-dashi!
My lead-filled tin-can anvil is nice for this. It absorbs some force, making the hammer blows less effective, but it also cushions the blade nicely.
The very tip is still not there yet. The shape of the urasuki is...... Not nice.
I need to think on this a while.
The charcoal skin is interesting (and hard for me to photograph).
The upper surface was left rough, so there is a strong surface profile, lots of texture.
The adhesion of the clay seems to have been inconsistent. This is particularly evident on the finely file finished fundament (Say that 10x fast!).
Here you can see the area of the handle to the left where the oxide coating looks good (except where the clay was scarred by my careless tonging). The middle area is spotty. This was the quench depth, as my water bucket is not deep enough. Some of the clay was applied when the metal was already hot, and flash dried. That probably contributed to the inconsistent adhesion.
This also needs work, and will take a bit of experimentation. As I said, information is scarce, so any additional information would be very welcome! I suspect that the real blacksmiths use a chemical treatment of some sort, to enhance the oxide formation. I also might be missing a key component in the clay wash...... I use a residue from natural sharpening stones, but different types of stone would show different chemical compositions.
I go back to watch my favorite chisel blacksmith at work.......
https://www.youtube.com/watch?v=1Ij9z9J6T1c&app=desktop
The process of quenching is called yaki-ire. Before this, the blacksmith shows how he carefully coats the chisel with an even thickness of thin mud, using an old toothbrush. The mud is in a clay pot, which he gently stirs, before applying a smooth coat of even thickness.
There are two pots, implying two different mixtures. The mixes look very similar, so I am guessing that one pot holds the thin clay wash. The second pot must be thicker (maybe that's my problem?), and this is the stuff that goes on the top surface of the chisel.
He dries the clay, using gentle heat from the forge. For yaki-ire, he uses a charcoal forge. He heats the chisel to what LOOKS like a bright red (but is probably not that bright in real life, bright red is awfully hot!), but then quickly tests the heat of the chisel, using a magnet to confirm that he has reached the Curie temperature, and the metal has become paramagnetic. This is important.
I am inferring a lot. He tests the chisel very quickly, then plunges it straight into the water quench tub. He does this pretty fast, and doesn't make eye contact with the interviewer, implying that this is not just for show, that this is how he normally does things, and that being VERY close to nonmagnetic is important.
If I understand things properly, to achieve maximum hardness (with minimal grain growth), you want to quench these ultra-high carbon steels at (+/-)100° over the nonmagnetic transformation. This guy sweats the details.
The other night, as I was watching the chisel blacksmith video, I connected the dots. Yamazaki-san, the chisel blacksmith, is Yamazaki Shouzou....... Hidari Ichihiro, the most highly regarded tool blacksmith of the modern day. Others are compared to him, as in "He's as good as Ichihiro!". He has become a benchmark. The film was made in 2001. Yamazaki-san died in 2007.