Lately I've been waking up in the morning and *reeeaaly* wishing that more people were writing about sharpening saws, Japanese saws in particular. I guess that I'm just obsessed, but saws have been in my mind for a while now, and I just can't get enough. 3 o'clock in the morning, and I'm wondering if it's too early to get out of bed and get back to work, sharpening more saws.
Yeah.....better not. It's too dark to see, anyways. Have I mentioned that we don't have electricity?
Almost nobody writes about this stuff, not even in the Japanese blogs. Sebastian has been doing a great job resurrecting the sharpening art, and Gabe is doing wonderfully with his big Maebiki-oga's, but.....I want more. What little I find amounts to :
- Here is a diagram of a rip tooth. Copy it.
- Here is a diagram of a crosscut tooth. Copy it.

The truth of it is that those directives are absolutely correct, and as a beginner, there is no better way. Look at what a "proper" tooth shape is, then emulate. When your saw starts to behave strangely, it's probably not your imagination, because they do get dull. Just because your saw is a superawesome Japanese tool, well.....it's just steel. Before it gets too dull and something nasty happens, point that bugger up. Freshen up those facets, it's not that hard. If your saw isn't too messed up, you merely copy what's already there. It's easy (almost). Assuming that you've got a decent, non-impulse hardened tooth saw....and a file.
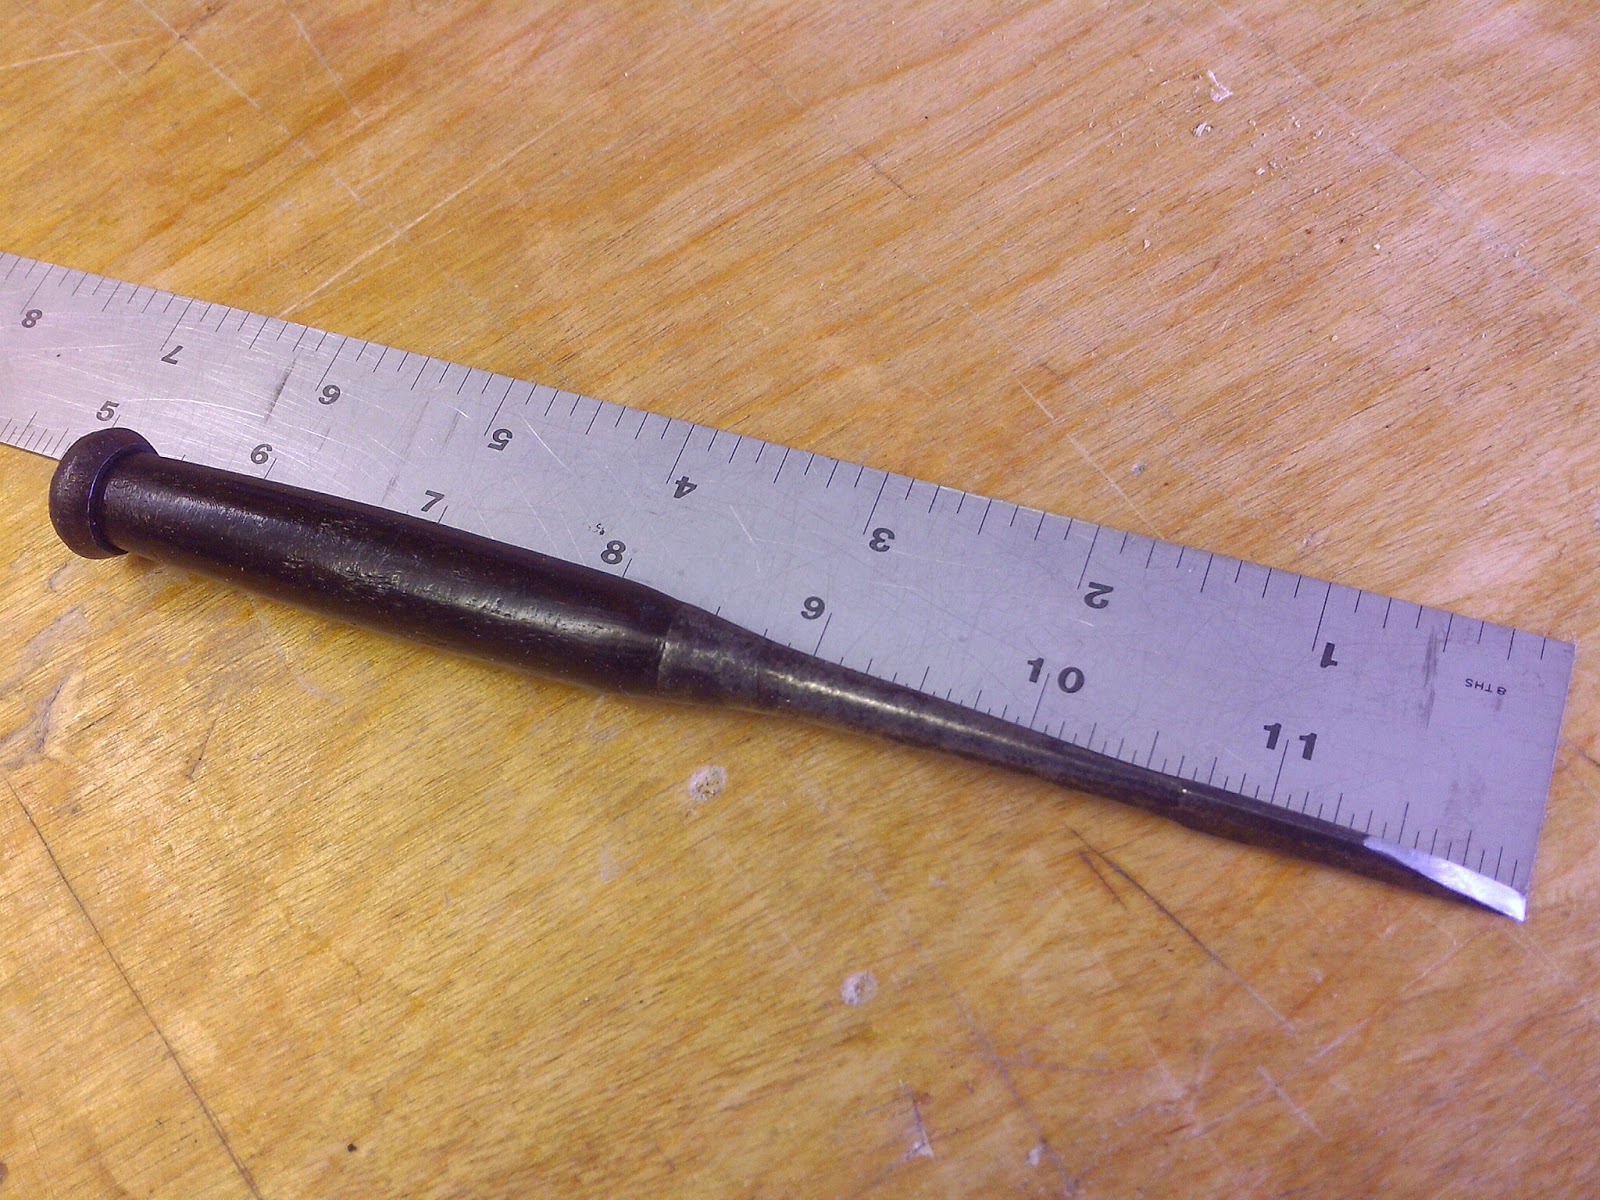
Sebastian, Mark Grable and I went in on buying a Yahoo Japan auction lot of saw files, bought and shipped through the excellent kindness of R-K Trading Company (thank you, Murakami!). I'll tell you this....I'm never paying retail again! Admittedly, it seems like we did get a bit lucky, we got them so cheaply. I wish that we had bid on the other lots as well, but in any event, I now have an embarrassment of 75mm, standard cut, double edged yasuri feather files.

From what I've been able to determine, Japanese saw files come in a standard cut and a finer cut (called "aburame"). If you take two files, one standard and one aburame and place them side by side, you will see that not only does the aburame have a much finer tooth spacing, it also has a thinner cross-sectional shape. These particular 75mm files are almost a perfect cross-sectional match to my fine tooth aburame 125mm file, despite its being almost twice the size. All of these files are incredibly narrow, delicate creatures, but comparatively speaking, these 75mm files are bruisers.
These files are all NOS from an old hardware store or something, Tsubohi File Works and Co., God only knows how old....50 years? These files leave a relatively coarse finish to the saw teeth, not exactly what you'd want for a final sharpening. I've been sharpening every saw within reach, and so far I'm still using the first one that I pulled out of the box, so I would say that these Tsubohi files are both forgiving and VERY durable. What the hell am I going to do with the rest of the 4 boxes.....I need more saws, obviously!
Japanese yasuri saw files come double sided, as these are, and single sided fine cut, a seemingly rare beast. 80-90% of the files that I see at auction are the standard double sided, and this must be indicative of something. I see two immediate possibilities. Assuming that 50 years ago the manufacturer made an equivalent number of all types of saw files, we can see that everyone loved the fine tooth single sided files so much, that they used them all up. All that are left now are the sucky, hated, standard double sided files.
Or....
Standard tooth, double sided files were made in far greater numbers because they are such useful creatures and were used for such important tasks, that the stores needed to keep their shelves well stocked. I don't know, I'm just guessing, but I'm thinking that these files have a specific purpose.....and the fun is in the finding, no?
All this talk about files, but they are actually only peripheral today. Today is about the forgotten side of the tooth, the actual "side" of the saw.
I was working on a saw the other day and I took some pictures to get a better look at things.

Not horrible (aside from the gullets being sloped the wrong way....too much island bliss, I guess), but when I look closely at the "dark" side of the tooth facing the camera, I see little specks of light. Those specks will be tiny jagged areas, perfect for snagging stray wood fibers and clogging the action of the saw.
A few of us have been pestering Mark Grable mercilessly for tips and information, anything Japanese saw related, and he's been wonderfully forthcoming with his knowledge and experience. Often, the briefest statement will have broad influence, importance far in excess of its brevity. Nerdy though it is, I've got a document of "Grable'isms" that I read before working on a saw, and it's amazing how something that you've read a thousand times before, will suddenly being new insight into a problem you are having. Case in point, Mark has mentioned that it's difficult to know what you are seeing, if the saw is all dark and pitted with rust.
What?! Rusty saws?!
Being attracted to the old and neglected, all my saws are rusty to varying degrees. Check out these treasures.

The little rip kataba in the center you might remember as being the subject of an aborted series on saw rehab I never brought to completion. I may have "massaged" the poor thing to death, just as you can soften metal by using a planishing wheel. The narrow bladed saw just to the right of the kataba has become one of my favorites, though. Ugly, rusty little thing, but it's a handy blade shape for pruning and trimming green wood.
I've already sharpened this a couple of times –I'm currently sharpening the saws at the merest HINT of being dull–, but then I started thinking about the side of the saw tooth. This is the equivalent of the "back" of a plane blade. You can't get a plane iron sharp if you only sharpen the face and ignore the back.
Duh!
The simple solution to the problem is....well...I don't know.
Ignore please, my use of a file here.

What I am really doing is gently scraping any trace of surface rust from the sides of the teeth that are facing toward me. I'm using the forward edge of the file as a scraper because it is easily the hardest steel that I've got handy. Really handy, like, already in my hand, haha.
And for Sebastian.....This is the saw that I mentioned in you comments regarding your universal dozuki. It was originally a purely perpendicular tooth rip pattern, with all teeth being the same size. I gave it more of a short and fat crosscut shape, with a stubby top facet. I'm putting together a post on my experiments with varying tooth geometries, but it might be a little while before things slow down some.
This saw, like most others, has teeth with a slight set, so the teeth are slightly bent to a curve, not straight. To polish the side of the tooth requires a curved implement of some sort. I tried using a curved/rounded edge wooden block with some #220 sandpaper wrapped around it. A flat sanding block will just level out the sides of the teeth, leaving you a saw with no set. Binds-ville, man, Binds-ville.

It works, and if that's all you got, use it. It's a pain though, and the tendency of the sandpaper is to round over the edges of the teeth. That's bad obviously, so try to find something better.
Much better for me, was a little Washita sharpening stone with a radiused edge. Different saw, but the idea remains.

Hey! My saw grew another set of teeth! A synthetic stone was too soft for polishing the edges of the saw teeth. An Norton medium India slipstone would be perfect.
Edit: Added a pic Here.
Here you can get an idea of the polishing effect at the tops of the teeth, although these are far from perfect. Remember, only the teeth that are facing upward are being polished. The ones that face away don't matter. Small steps, incremental change.

More than anything though, this really seems to point out how skilled you are in setting the teeth, because every discrepancy leaps right out at you. It's a good opportunity to even things up, work on your Asari skills.
Of course, once I got started.....

The dark red stone next to the soap is a small offcut of a synthetic #1200 waterstone. I takes a few swipes with that first, to seed the surface with abrasive grit, then do the bulk of the rubbing using the much slower natural stone.
This revealed lots of lumps and bumps.....Oh boy!!!

Off to the anvil, just give me an excuse, any excuse.

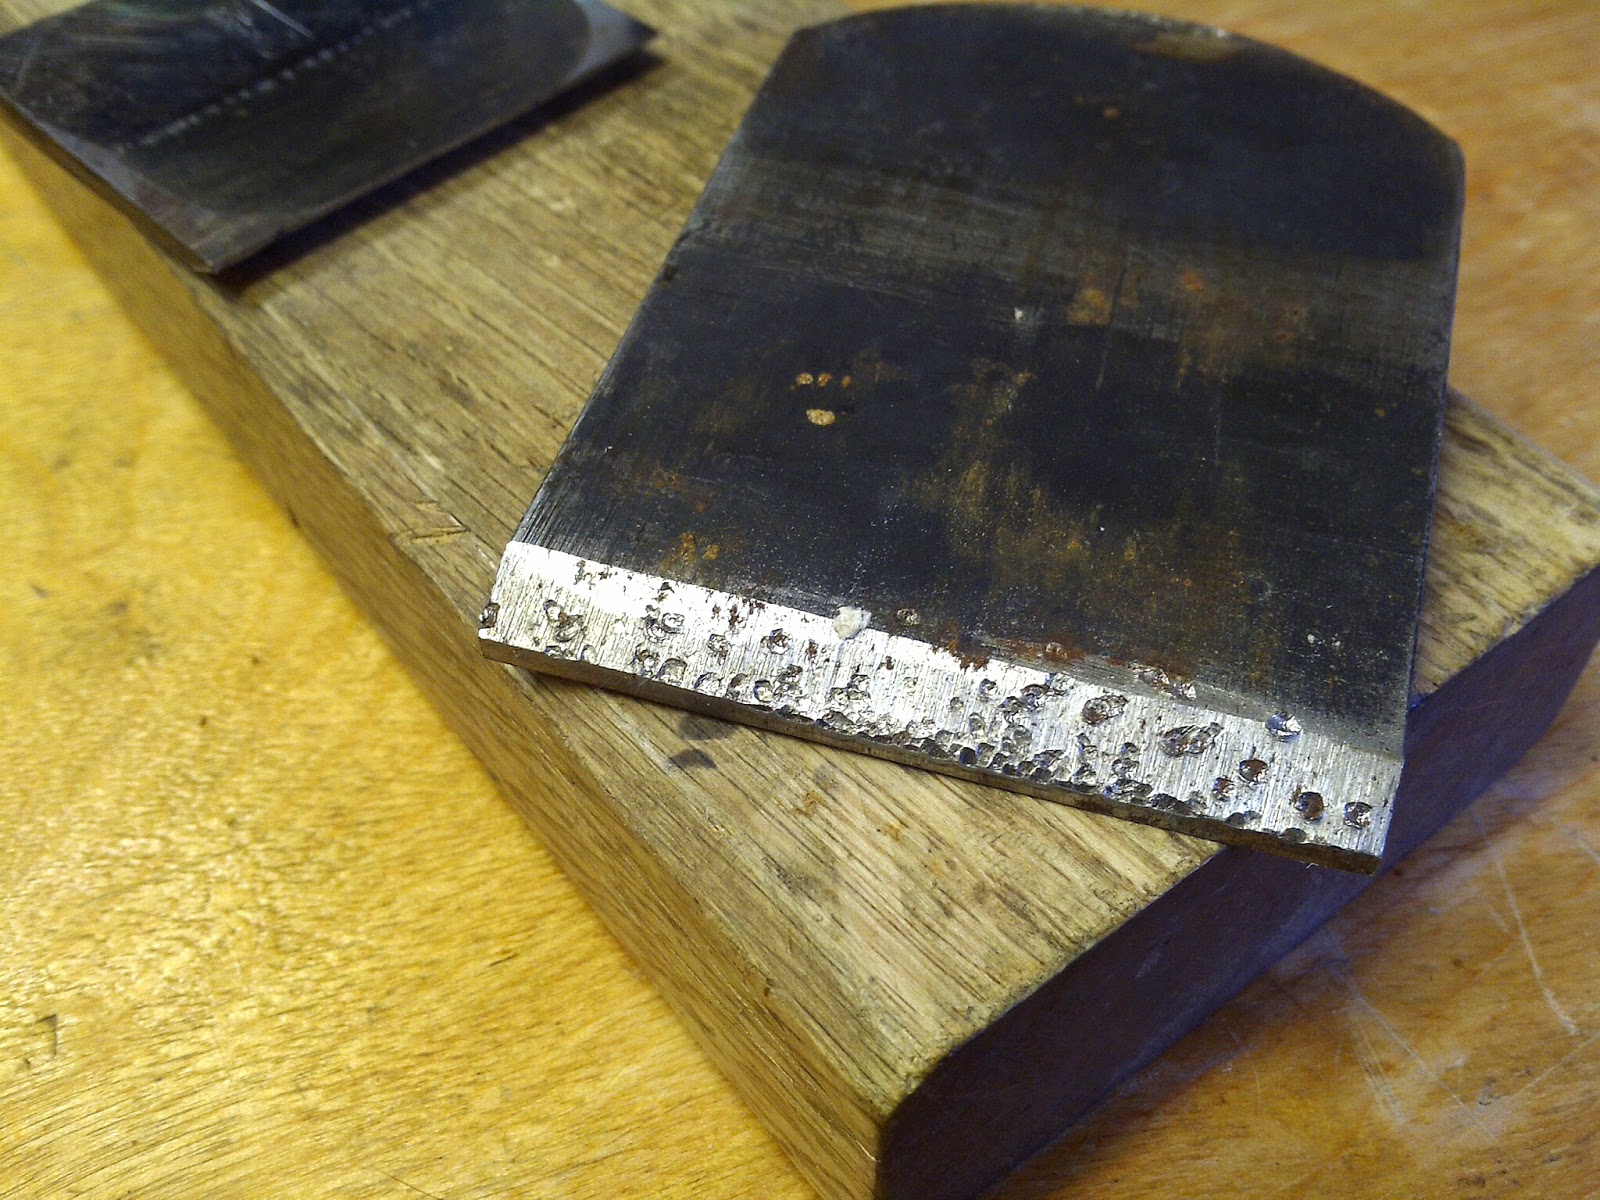
The lighter spots are deviations from the average plane of the saw. Lumps. They aren't bad though, so my little tack hammer seems the proper tool. Many small strikes, focusing on the areas around the bumps more than the bumps themselves.
My point here, assuming that there is one, is that the smallest things can have large effects. The teeth of your saw will never be truly sharp unless the sides of the saw blade are clean and smoothly polished. A little bit at a time, if your saw looks as bad as most of mine. If I were to get the blade to a polished state, most of my teeth would be gone, abraded away in the process. Better is to sneak up on polished, taking a little off at each sharpening, so the edges get incrementally improved. With just a slight amount of work, I've probably made the saw 30% sharper, although cleaning and working the sides of the teeth actually dulled them a bit, so some touch up was required.
The big ryoba worked fine with those little bumps and dents along the blade, but as with the rust, it is better to have as straight a blade as possible. Less friction, and it's fun to hit things with hammers.
It's the little stuff, dontcha know.
Oh boy....it's finally getting light out. Time to sharpen something!