My sincere apologies for the horrible formatting that I have been inflicting on you. As with so many things...."Read the instructions ", I continually tell myself. As is usual, the fool is I.
Publishing through the the blogger platform was so simple when I was with the android OS, but with the iPad and iOS 8.....I thought that Apple made things easier for beginners, but to be honest, I would ditch this thing in a heartbeat. Doubly perplexing, because I am the perpetual beginner.
Except for the camera.
The camera on the iPad air2 is so freaking awesome for a self-admittedly poor photographer, it is just plain good great. Best camera that we have ever owned. The reviews say that the iPhone is even better. Holy crap! It's hard to imagine it being even better.
OK, enough excuses.....
Project Mayhem. Beginners cut a fairly sophisticated joint, then try to remember how we screwed up, in hopes that others might learn from our mistakes (the roots of wisdom, in other words).
*Important *
I would love to see anyone do this, even years down the road. If you cut this joint, sign in through the comments section on Sebastian's blog. There is so little information on these things, everyone will have their own insights! Please try these when you have time. It's fun!
So far, we have:
It's a small group, but don't be shy....really!


Sumitome hozo sashi, think of it being the first layer, right at the corner, the beginnings of a house and lying on top of the foundation stones.
To wrap my mind around this thing, I start by practicing the layout on a scrap piece, something that I can stare at for a while to determine which parts I can safely cut first. Any number of times, I have started cutting a joint, only to find that important parts of my layout disappeared with the waste.

Sharpen the tools, check the sole of the kanna dai to make sure that things are as they should be. I need to start out with perfectly square stock ( tip #1).

Greatest peril of the entire morning was the darn cat! While I was working, he spent his time showing off his newest toy ( a dead rat.....the perfect kind, eh Brandon?)


The peril was to my tools. He kept knocking into the work table so hard, my chisels were in danger of falling to the ground.
Layout for real, using puny little 2x stock......let's say this now. Not a good size to learn with. I intend to use at least 4x4 for the next go 'round, but 6x6 would possibly be even better (tip #2).
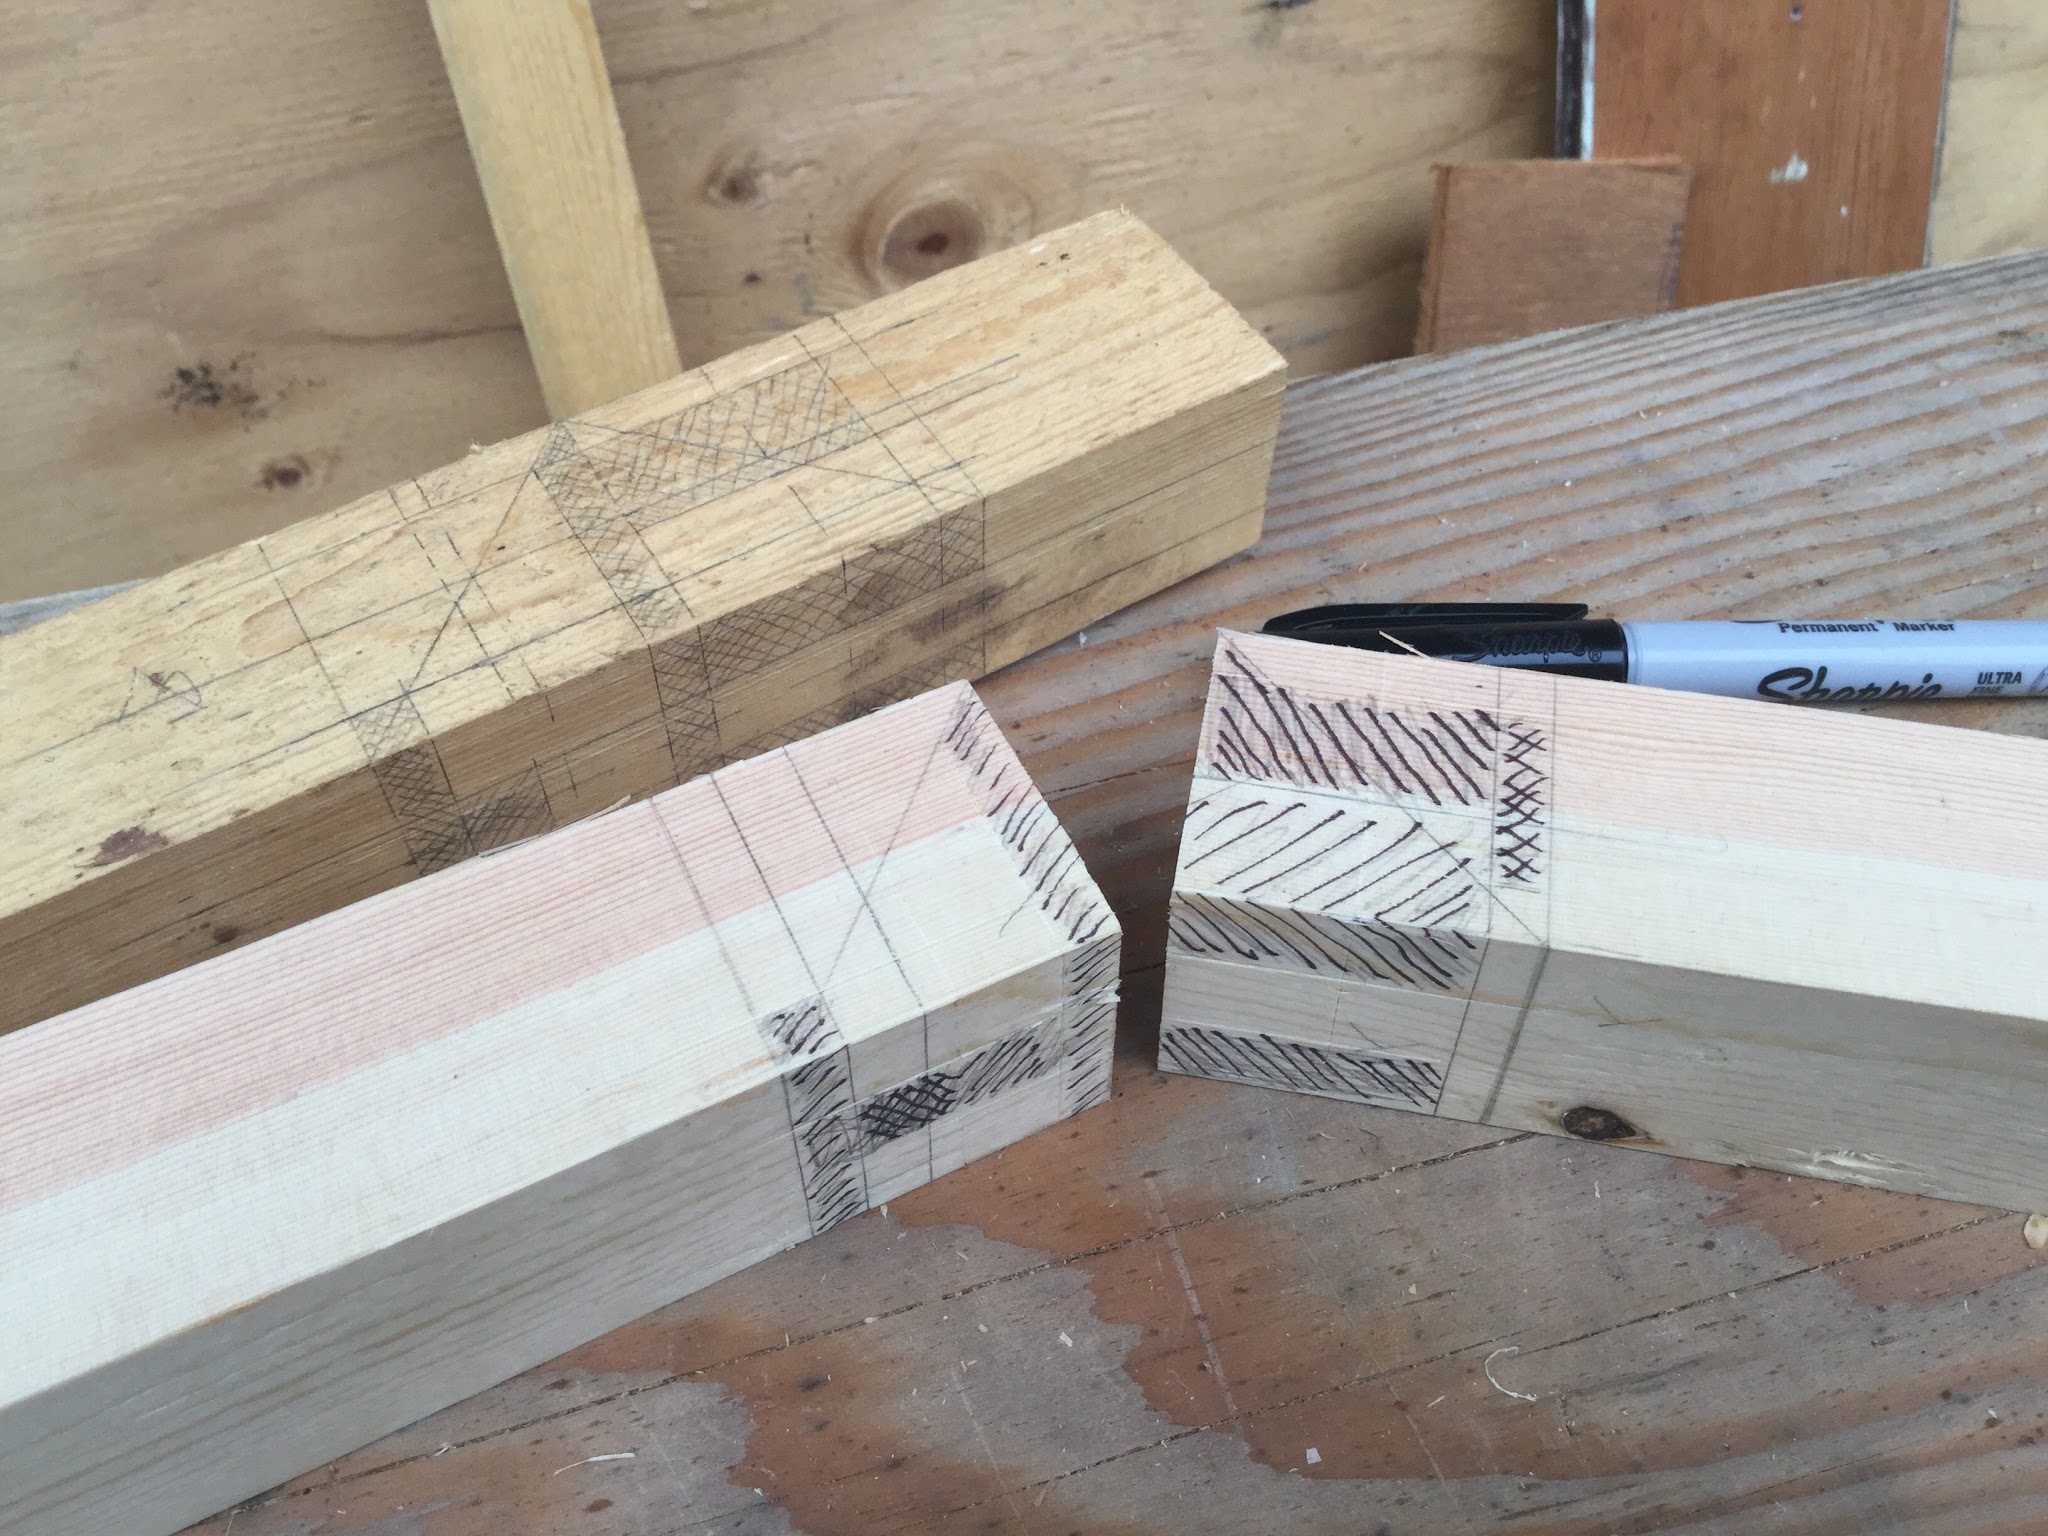
The main reason that I would advocate using bigger stock is that the Layout lines are easier to see. Do I use a pencil, or do I use a knife? Due to size of the stock, I NEEDED a knife line, as even a 0.5mm line is far too thick for accurate work. My eyesight is getting worse by the day it seems ( welcome to middle age!), and I was too excited to get cutting, leaving my reading glasses elsewhere (tip #3...knife, glasses...take your pick).
Tip #4....use a marking gauge wherever possible.
I did the rip cuts first, as they leave all of the other layout untouched.

I also used the wrong saw for the job, but I am always looking for an excuse to use this one. A 32 tpi crosscut isn't the best for ripping with the grain, but this saw is so easy going, it didn't seem to mind. I am going to buy some rip blade inserts, first chance that I get. Then it will REALLY kick butt.
Here is why this wasn't necessarily the best saw for the job. A 1-1/2" rip was burying the blade. That's asking a lot of a saw that is better suited to cutting material thinner than 3/4".


Tip #5....don't overcut your lines. Keep the big picture firmly in mind. Somewhere in here, I kind of lost track of things, cut where I shouldn't have.

You gotta love that thin kerf.
OK, next is crosscut. Time to get some of the extra stuff out of the way.

Tip #6....I cut the mitre early on, giving both a nice long diagonal line to sight, and also leaving more material support to the saw on the tricky biased grain.

Time to hit some s**t!
Any excuse to drag out the chisels, it's good enough for me. Also, see tip #1.


Actually, I just wanted to line them up and make 'em smile for a photo. Love those lamination lines!
Part 2 is on the way.
If he's playing with dead rats he's not out catching and killing live ones. On the other hand, you don't want to discourage him by taking it away.
ReplyDeleteLove the post and the pics. Happy Father's day a day late and love to all.
Brandon