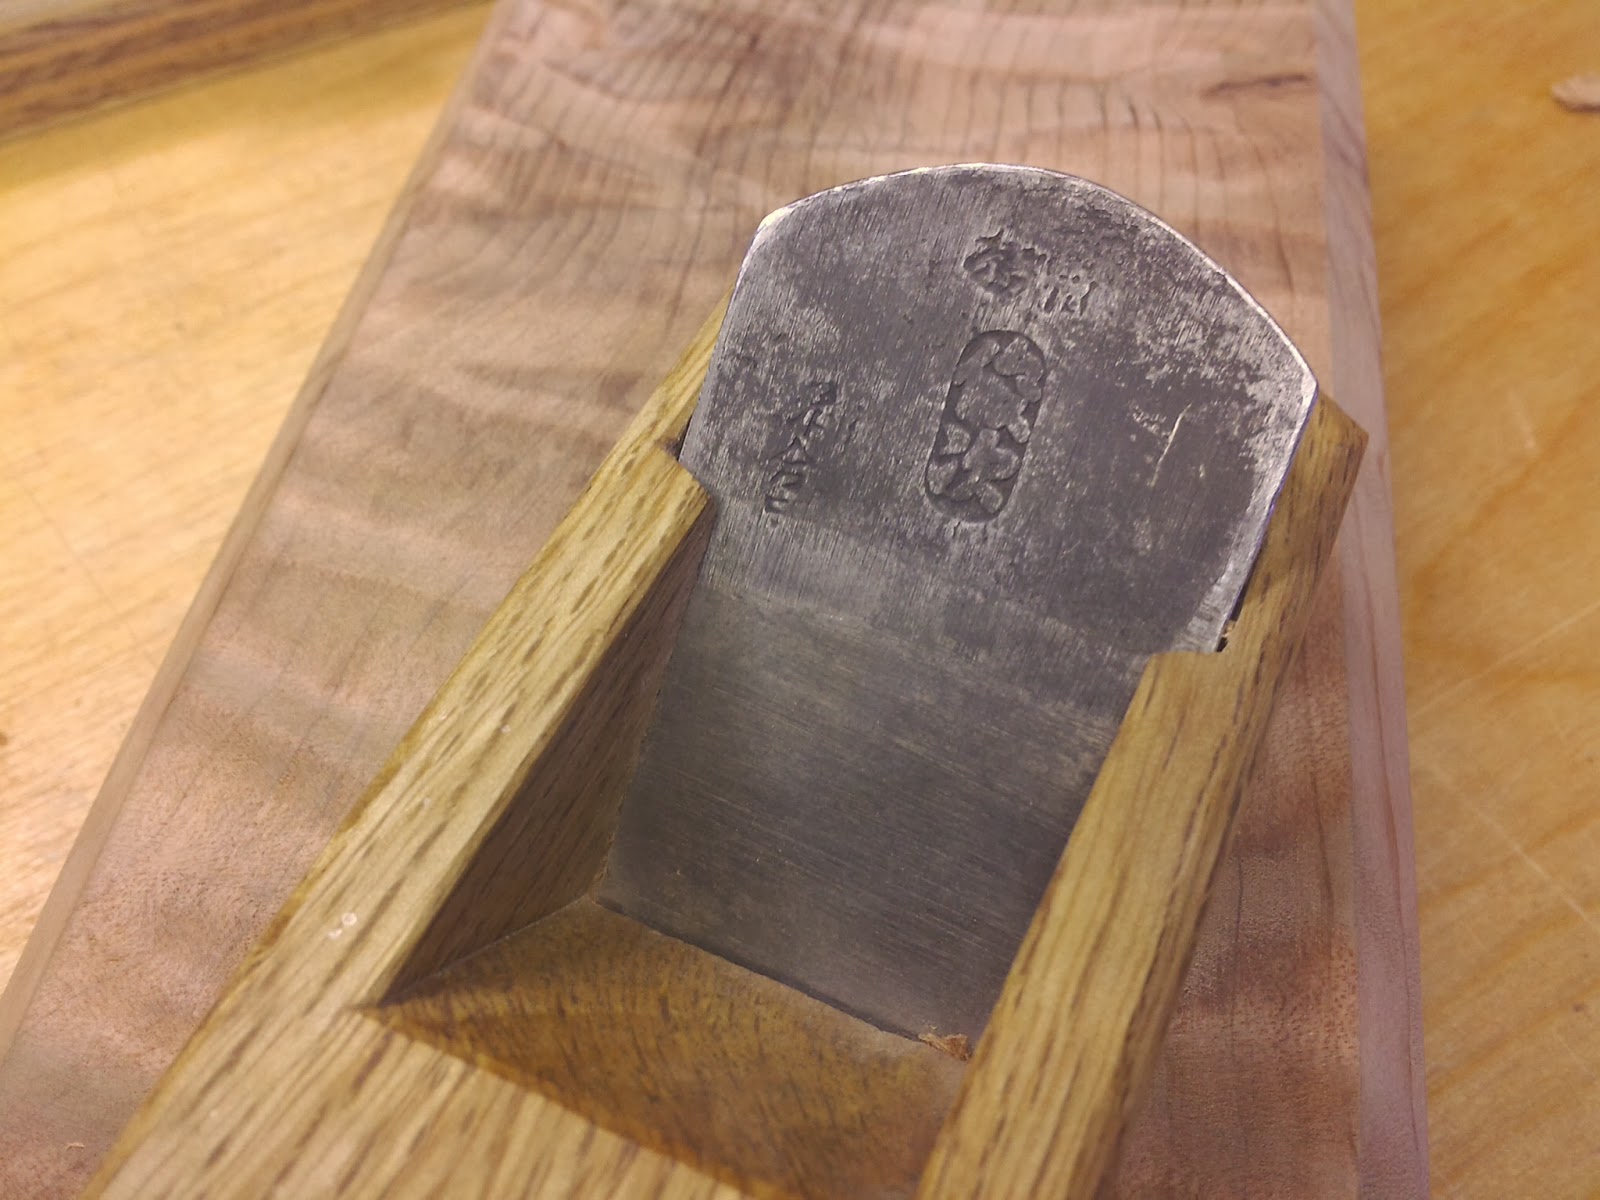
Some days things are easy. Others, well...... If your Japanese plane (kanna) isn't performing the way that you would like, it is probably due to one of two things.
- Sharpening deficiencies (+80% probability).
- Your sole is in need of adjustment ( Whoa!!.... Karmic, dude!).
Wooden bodied plans are alive, in the sense that they move, breathe, change, and adapt to new conditions. There must be a lesson for me somewhere in there.
Periodic kanna dai maintenance is a fact of life. Like many of the finer things in life, a price must be paid, but this is a price that we all can afford and it will actually pay dividends in the long run by fostering awareness..... connectedness.
The other day, I noticed that the sole of one of my finishing planes was looking a bit odd......
The lighter patches are wear points from contact interference. Too much contact. Although this really isn't too bad, I thought that this would be a good example of periodic maintenance, the typical day-to-day of kanna life. To maintain good performance, we need to get rid of some of this.
Ideally, we would see marks at only these two locations that the chisels are pointing to. Two bars extending the full width of the plane and around 5-10 mm in thickness.
Retract the blade just a bit and grab a GOOD ruler ( or an actual straightedge!) and take a peek. Again, this plane is close to what you want to see....
Contact to the right of the blades leading edge..... air gap of just a sliver..... and contact all the way at the end of the plane, far right. There is too much contact to the left of the blade, however. We'll get to that in a minute. First, the mouth, the Ha-guchi.
You can see a thin slice of wood that I glued into place to close up the mouth a bit ( the blade is retracted about 1mm). This area extending 5-10 mm down from the leading edge of the blade is "THE MOST IMPORTANT PART" of getting a kanna to work well. You need full contact here......
Longitudinally (also notice the sliver of light to the left of the blade. No touching!).....
and horizontally.
Also at the very back of the dai ( AND front of the dai, if you want a 3 point contact).
To the left of the blade (actually the front of the kanna), I am going to remove ALL contact. That will leave only the two bars, a 2 point contact. A third bar, all the way to the left, would be a 3 point. I think that a 3 point is easier for learning because it makes the kanna more stable in general. I use a 3 point, mostly.
I had set this kanna for a 3 point, but now I want too try a 2 point. I need to remove just a thin bit of wood, just a few shavings and only in a few spots.
Now, for comparison, here is a different plane. This would be a good example of almost ALL Ebay kanna and even a lot of new Japanese planes. In Japan it is expected that a craftsman will know how to take care of his own tools and will adapt the tool to fit his needs. The cheap crap is sold ready-to-use. Over here, we pay EXTRA for a tool that needs no set-up, pretty much the opposite, haha.
Again, this is what you DON'T want to see!
Contact at the far left, then again at the middle of the span to the right. Exactly opposite, bizzarro world kanna!
There is a pronounced horizontal dip, right at the leading edge of the blade.
If you could get this plane to work at all, tear-out would be..... problematic.
OK, back to kanna #1. I sometimes I double check that the contact bars are all in-plane by using a piece of sandpaper, adhered to a glass plate.
I use two tools for removing excess material. A dainaoshi kanna ( a small scraping plane).....
... and an old blade from a western style block plane.
The old plane blade is soooooo soft compared to the Japanese blades, it is hard to imagine ever using them again for real work. They make GREAT scrapers, though! A few licks on a diamond stone raises a burr, similar to a cabinet scraper.
I took off just enough material to kill the gloss, and just the high points, no more than needed. A good blade can outlast multiple wooden bodies ( and the owners!), but I don't want to cut a new dai any sooner than I have to.
Scrape
Tinfoil makes a great feeler gauge. We are talking microns here, but it makes all the difference in the world.
You can take a cleanly planed FLAT piece of wood, wet the surface of the wood with a slightly dampened cloth.....
.... take a swipe. You can see the areas that are making contact. I will scrape a bit more towards the bottom and call it good enough. There is a lot of very sophisticated physics going on here, with both the body of the plane and the wood being planed changing shape in response to the force (you) being focused by the blade. You can actually FEEL the heat being released as you are planing, and some blades will get discolored, as though being burned. Amazing.
This is not high performance tuning or anything, just normal stuff. It's pretty easy, just takes a few minutes, and will get your planes working well once more. It's not rocket science but if you want to use some of the sharpest tools imaginable, this is the price. I might do this once a week/month/whatever. You do it when you have to.
I need to work on my sharpening skills, these are ragged and thick. The blade isn't very sharp. Embarrassing.....
AND my magic chisel box is full of fixers in need of love.
So many projects. Soon.