Showing posts with label workshop. Show all posts

Tuesday, February 4, 2014

Workshop storage solutions (I need some!)and a box for Aunt Doreen


One of the purposes of this blog was/is to remind me of how quickly things change. Allow me to take a brief step backwards in time....... These are roughly before/after pics.


Piles on top of piles. Most of this mess is stacks of lumber, projects to be.


The lumber has moved. This will be a long planing bench with storage underneath...... maybe.


Wow! I know that there is a chisel here, somewhere. Next to the files? Yikes!


Bye bye shelf of tools, hello shelf of lumber. I suppose that you could say that the lumber pile just moved next door. From one side of the shop to the other.


The first step was to actually finish the drawers for the ol' workbench. That freed up a huge amount of space. Now if I could only remember which drawer has the files, I could find a chisel....


Blank slate. This will be a vertical plywood storage (hateful stuff!).


Finally, room to turn around in.....


.....and then there is this. It is hard to know when to stop.


A few days ago, my wife's aunt Doreen stopped in for a visit , and she was kind enough to accept a gift. I thought that she might enjoy seeing a few pictures of the creative process.....


Port Orford Cedar


Alignment


Bronze nails


Chamfer


Oil first, then shellac

I made this last year, a design loosely based on a traditional Japanese tool box. Now it will be used to store tools of a different nature, a thread box perhaps.


Tuesday, January 28, 2014

Time is NOT on my side.....

Junji in Japan (Ebay seller yusui) sells WAY more tools than I can hope to use, but even so, I want them all. The discovery that accompanies a new-to-you tool, the quality of its manufacture, the way that it has been used over time.... all of this is fascinating. Some of the items are nearly new, but most have seen use. Some are looking for a place to retire... these are often the ones that I most love. A tool that has been used with care, used until it is nearly gone, these are often the best (the worst ending up in a swamp, hopefully). If I only had enough time.....

If you are looking for good value in vintage Japanese tools, I highly recommend him. Honest, helpful, polite and patient, his buy-it-now prices are usually VERY good. He has excellent English language skills and ships at cost, so a 2kg package costs about $30 and take 10 days. That's only a few days more than, say, A Lee Valley Tools order. $30 dollars might get me to the nearest Home Depot and back again, but it would be a near thing (AND they don't have what I want, either). For some reason his auctions don't see the action that they deserve. It must be a foreign purchase sort of thing. FWIW, it's totally painless, no duties or anything weird, and you get to track the package as it makes its way to your door..... A VERY good value!

New (nearly) tools are fun too...


30mm Umehiro kote-nomi

Ooooooh, I can't wait to sharpen this one! 20-30 year old price tag of 3400 yen. That's about $33 USD..... time IS on my side, for this at least.

So, time......

I follow some pretty obscure blogs, one of which is the Nao natural whetstone (soon to be Tamura Mountain, I believe) that I mentioned in a previous post. New natural waterstones!! Nice ones, too, and word is getting out....http://kunimoto.blog. I think that my hope for getting inexpensive Wakesa grindstones is.... too late.


Kuni is who is referred to, by some, as the magician, at least I think that this is the guy. If he isn't, I don't know who is....


It's good to have role models ( this from kunimoto's blog).

The blacksmith was Mr. Kengo Usui..... Usui Kengo, and for the last 25 years, Kuni has been working to perfect himself, to bring honor to the maker of this fine tool. 25 years of REALLY intense thought and commitment to excellence..... 25 years.

Kunimoto has one blog about, for lack of a better term, extreme sharpening that completely pales anything that you will find in English (A while back I hit a wall regarding information pertaining to Japanese tools, sharpening, using.... so anytime that I find some new info it makes me so excited that I have a difficult time sleeping. I barely sleep, as it is, so this isn't a big deal. What would it be like to WANT to sleep your life away?). He also makes beautiful furniture, and has another blog about his day to day work. If only I had more time....


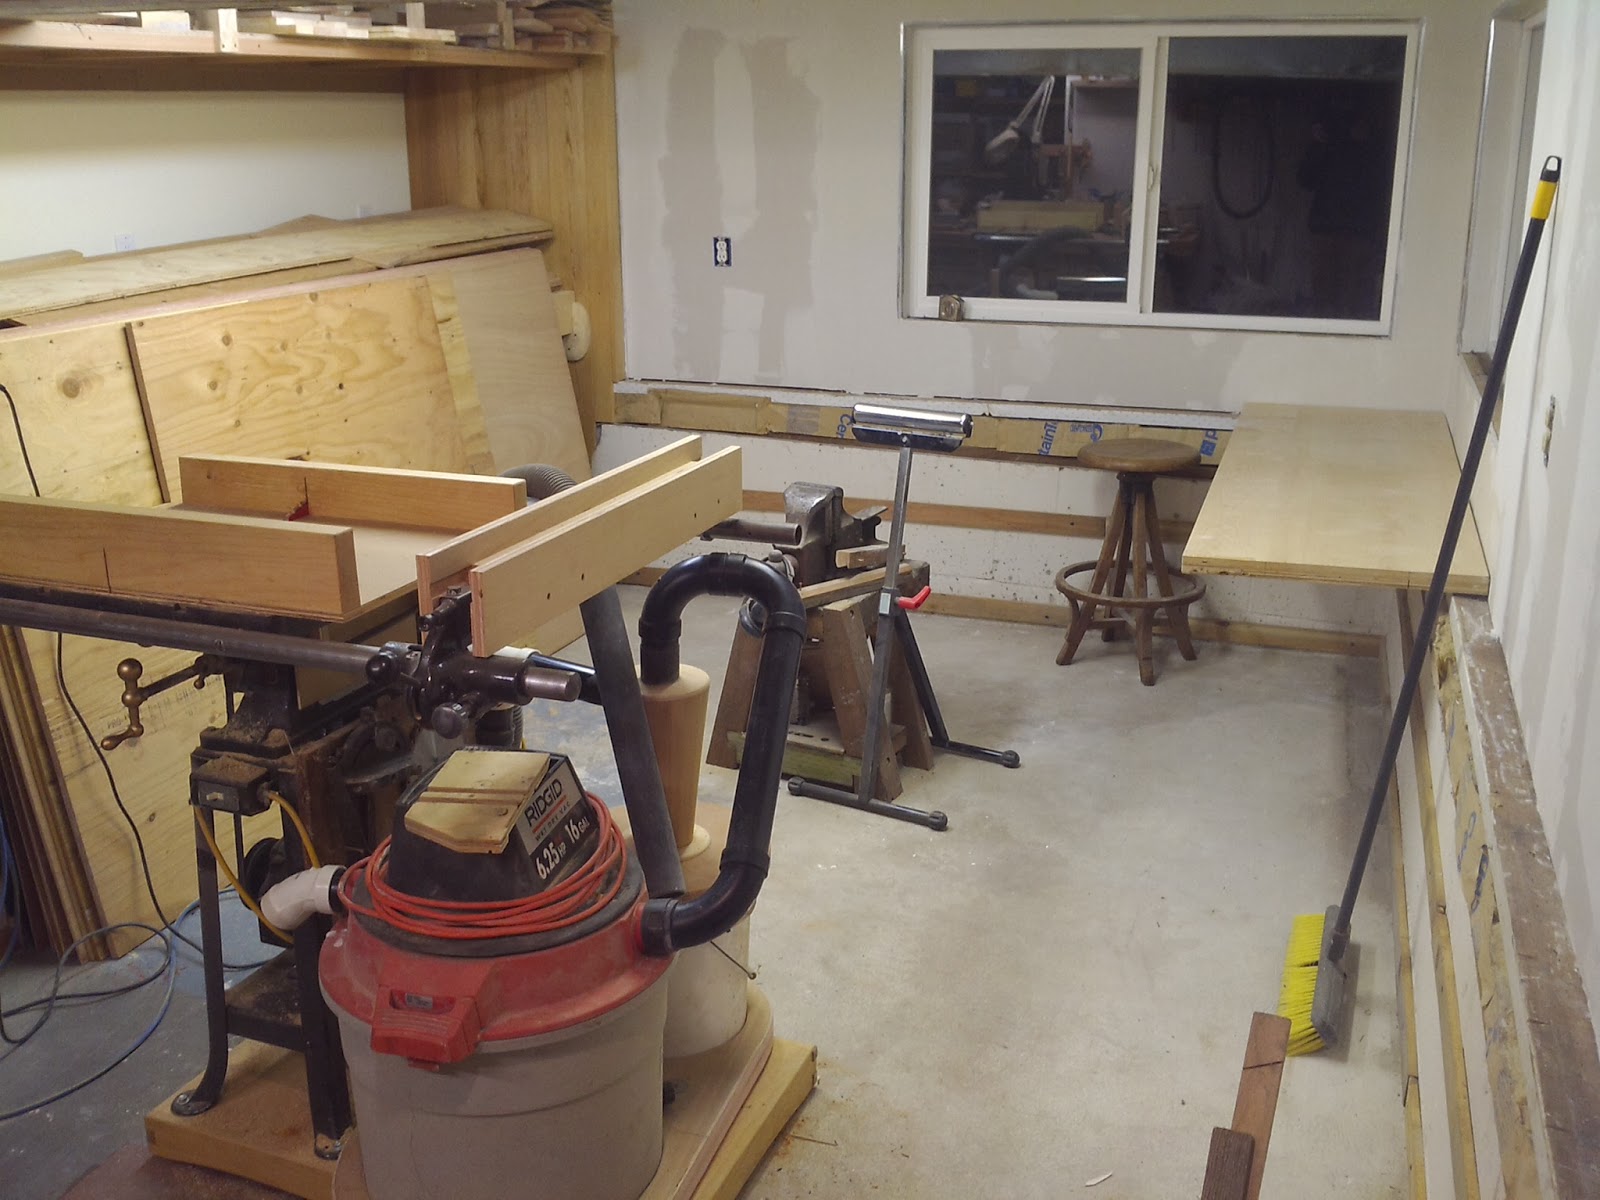
I'm still working on the 'ol workshop renovation.


The new lumber rack is already buried (which was what got me started in the first place, haha). It's on the left. I haven't seen this much floor in years.


This is more like what I am used to, although this is still cleaner than it was.

I want to build something. I want to do something REALLY well. 25 years.....


Saturday, January 11, 2014

Blank slate for 2014 - Time to finish what I've started

"Great starter!" Might have been written on one of my earliest report cards, and while not being afraid to tackle new projects is a good thing, the inability to finish is not. I have the attention span of a 5 year old child, at least when it comes to building things, and the natural outcome of this is..... great heaps of stuff. Piles on top of piles, till the towers fall....

So.

2014.newyear.finishsomes**t.me

My friend Charlie is scrapping out an old ketch and before it hits the burn yard, I am trying to save as much of it as possible *Renee cringes*.


Teak, some copper.


Plywood face is almost 6mm thick.


That's 7/32's for the metrically challenged.


Making small piles from large. At least that is a step in the right direction.


I had started building a huge honking workbench because I have always wanted a giant monstrosity that makes a comforting "THUNK" when hammering things. Lots of vises. Drawers. Maybe a Roubo, like all of the cool guys?

This is a case of reality outpacing dreams. NOT having a vise for so long taught me to work in a way that makes gravity and geometry my friend.....I don't really need vises too much. Chemo wreaked havoc on my legs, so standing at a bench for a while is, uh, not pleasant and I find that I am a lot more comfortable just sitting on a piece of carpet on the floor. It's also easier on the tools, carpet being far more forgiving of my clumsy hands than the concrete is.


Drawers. Those I DO still need!


Ugly pulls, but quick/done. I badly need the storage so that I can....


Move every damn thing in the shop, finish an  unfinished wall and build some new racks for wood storage. This project is 2 days old and already I am itching to make a box (maybe one of the 30 out so, piled everywhere?), sharpen some tools, do anything that isn't mud-and-tape. Write a blog?


Scary.

To do:

  • Lumber storage
  • Tool racks
  • Finish coat closet/ make Renee happy
  • Build a bench for the front porch. Ditto.
  • Try to remember what these piles of wood were intended to be... Japanese style tool box.... Bent-wood boxes... Sharpening bench....???? Gaaagh!
  • Build a better forge and anvil. Junji ( in Japan) is sending me some old tools, one of which will be reworked into a small yari-ganna, an ancient predecessor to the Japanese wood plane. It has a curved, leaf shaped blade, a long handle, and is used in a drawing/slicing movement.

This is my inspiration, although mine will be a laughably poor imitation.


Usui Kengo work ( sans-handle). Pro-shop Hokuto sold this one a while back. This is beautiful work from a true master.


Different blade. Yokoyama Yarri-ganna from Japan Tool. So-san has a page devoted to sharpening this blade and making a handle for it. It is amazing to see the transformation, from rough to... sublime. So is my tool-sharpening sensei!


Rough state, as received from the blacksmith.


Ahhhhhh......  beautiful.


Nice handle too.

Again, this is NOT my work, just what I will be working to emulate. But first I need to finish some stuff.

Jason


Wednesday, July 31, 2013

More tool improvement (diamond sharpening plates)

Here's a quick one. Remember those cheap import diamond bench stones from the prior post?

Cheap and worth buying
I had glued them to some pieces of cedar that I had lying around the shop, which made them a lot more rigid and therefor, useful.

diamond bench stones on substrate
v. 1.1

The problem was that the "stones" are just thin pieces of diamond coated metal, adhered to almost as thin pieces of plastic. And that plastic is not dead flat (what do you expect for $7 and change?). So.......

v. 2.0
I took a putty knife and popped the metal plates off of the plastic substrate. I think that in a few more days, the plates would've just fallen off on their own anyways, so this just sped up the inevitable. As before, spray glue and stick down. Clamp them and give 'em a few minutes for the glue to set and.........FLAT!

Cheap and now FLAT!

The spots of light are just those little divots that are all over the surface of the plate. It is as flat as can be (at least in my shop) and is now actually more accurate than my MUCH more expensive DMT duosharp stone

Not as cheap and not as flat either
Don't get me wrong, the DMT Duosharp isn't too bad and I use it for lots of stuff, but a precision instrument it is not. The DMT diasharp continuous surface bench stone IS flat, if that's your thing.

I love quick, cheap projects.

Saturday, July 20, 2013

Bosch 4000 table saw fix (momentum lost and found)

So it's been 10 days or so and the parts for my Bosch 4000 table saw have finally arrived.....time to bring the beast back to life. As you may remember, it had been making peculiar noises, off and on, for a few days prior to me actually deciding to do something about it, rather than burning the thing up. I have been known to actually be proactive, on occasion, regarding maintenance but generally the opposite is true. That must explain my ability to fix things. Practice!

The saw had been making a chattering, rattle-ly noise (bad bearings or field windings) concurrently with the motor dropping in RPM's (bad motor speed control, bearings, brushes, armature or field winding) and there was sparking visible through the motor dust shield ( bad brushes or armature). On dissasembly, the brushes weren't too bad, the armature appeared fine, but the tail bearing was worn and discolored as was the field winding. When I was messing around with the saw, trying to figure out what was wrong, I briefly disconnected the speed control, but that had no effect on the speed or chattery noise, so I figured that the speed control wasn't the culprit. When the speed control fails, the speed either goes too high or the saw actually runs slow or backward.

These saws (and the newer 4100) have a history of motor problems, with the field winding and electronic motor speed control being the most common points of failure. If you go to an online tool parts supplier like toolpartsdirect- Bosch 4000 saw you will see a list of the parts available, as well as the most commonly ordered parts. Very helpful. I ordered all of the most commonly replaced parts, because we all know what happens if we only get what we think that we need........

underside of Bosch 4000 table saw repair
Have you looked under your saw lately?
Here is where we left off. First remove the brushes and the three screws holding the dust cover in place. Take note of the wiring connections and separate them.

motor case disassembly Bosch 4000 table saw
Just a 4 screws to remove the case
Motor case removed Bosch 4000 table saw
Keep track of the parts
Tail bearing removal
3 jaw puller (the bearing came off easy)
Old/new bearing comparison
I prefer the one on the left
Using a socket to install a new tail bearing
Fancy tools, very sophisticated
Many light taps. I used a socket to keep from damaging the new bearing race.

New field winding Bosch 4000 table saw
New field winding
Motor re-assembly
Don't do this!
The tail bearing sits in a rubber bushing/seal cup, probably to allow for slight miss-alignment. I first put the rubber cup on the bearing, then put the case back in place, but the cup felt like it was getting in the way. Instead, I put the cup into the motor case bearing housing, THEN slipped the case over the armature and all was good. Also, the windings would have rubbed against the armature so they needed to be carefully (hahah) adjusted with a pliers (bent out of the way). This makes me a bit skeptical about the longevity of the repair or the overall quality of the parts. And these were real Bosch parts BTW.

No sparks!
Test run. A very few sparks and no chattery noises and the speed was good too. It looks like it was only the motor field winding that was causing the noises and speed fluctuation (although the bearing did need replacing, too). We'll see how long it lasts. My fingers are crossed.